
Ah, bandanas. Something you probably haven’t thought about since that godawful country western-themed dance in middle school – unless you’re a roadie for The Grateful Dead.
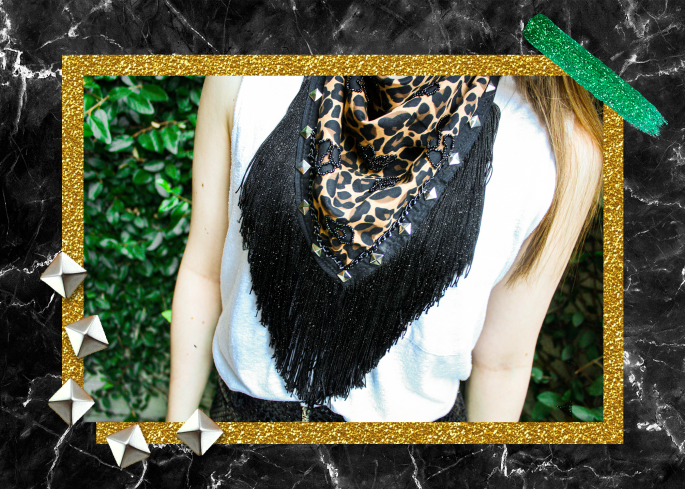
BUT now that fall temps are starting to arrive and we can actually stand to wear something around our necks without dripping in sweat, we’re proud to introduce: the glam-dana!
A great way to transition into fall, this edgy twist on the classic kerchief might just be our new obsession. And for good reason! After all…
–Basic bandanas are cheap as hell. Like, 99 cents cheap.
–They come in a surprisingly huge array of colors & prints.
–The fabric is super easy to work with (& also wash).
–You can style them in so many different ways (I’m talking from tanks to turtlenecks).
–AND they’re totally customizable to whatever vibe you’re feeling – and/or supplies you have laying around.
Seriously, beads, trim, studs, spikes, buttons, sequins – even dye or paint if you really want to get creative. It’s one of those projects that you can invest however much (or little) time you’d like, plus truly make all your own.
So let’s dive in!
// WHAT YOU NEED //
+ A bandana
+ Bead needle & thread (double layered & knotted at the end)
+ Regular needle & thread (double layered & knotted at the end)
+ Beads (I used seed)
+ Fringe
+ Your choice of chain & studs (or whatever else you want to use for embellishment)
// STEPS //
++ First things first: rescue that bandana with an iron. You won’t get ~all~ of the creases out, but give it a valiant effort.
++ Fold the bandana in half diagonally and choose which side you want to be your main (luckily we only have to decorate the half that’s going to show).
BEADING
++ If you want to bead, that’s the first detail you should knock out (if not, just skip to the next section).
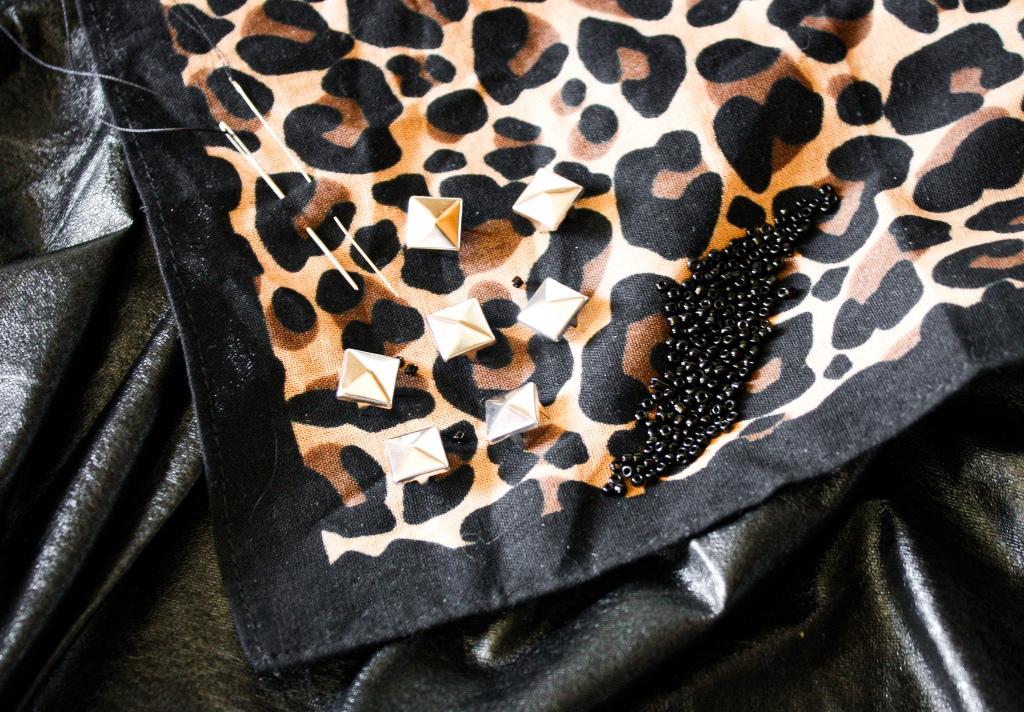
++ Once you figure out which areas you want to accent with beads, take your threaded bead needle and make your first stitch. Pull the needle though the fabric so the knot is on the non-visible side and sew a few tiny stitches, just to secure the thread.
++ Add your beads two to three at a time onto the needle and pull them all the way down the thread so that they’re touching the fabric. Lay them down along where you want them to sit, and pull the needle down through the fabric right after the last bead to sew them into place.
++ Pull your needle back up about two to three bead’s length away from the last sewn-in bead (same premise as a back stitch), thread more beads onto the needle, put your needle back up against the last sewn-in bead and pull it down through the fabric. At this point, you should see all of the sewn beads starting to form a line.
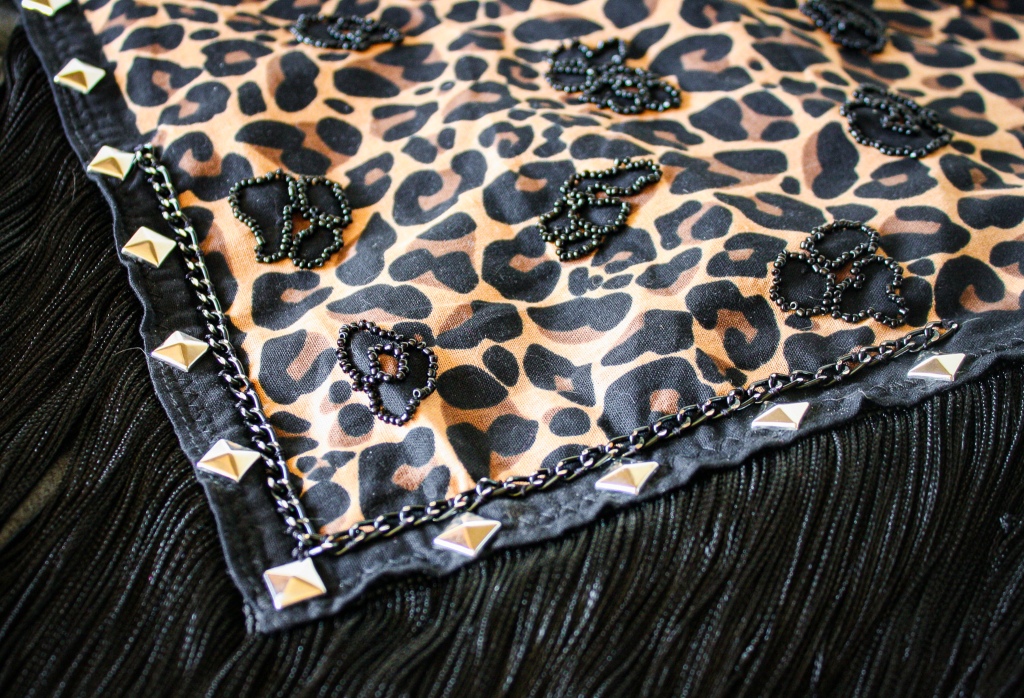
++ Stitch by stitch, continue the beaded detail. Your S.O. might look at you like you’re a psycho for wanting to bead all of those leopard spots – but it’s totally worth it! I promise.
OTHER EMBELLISHING
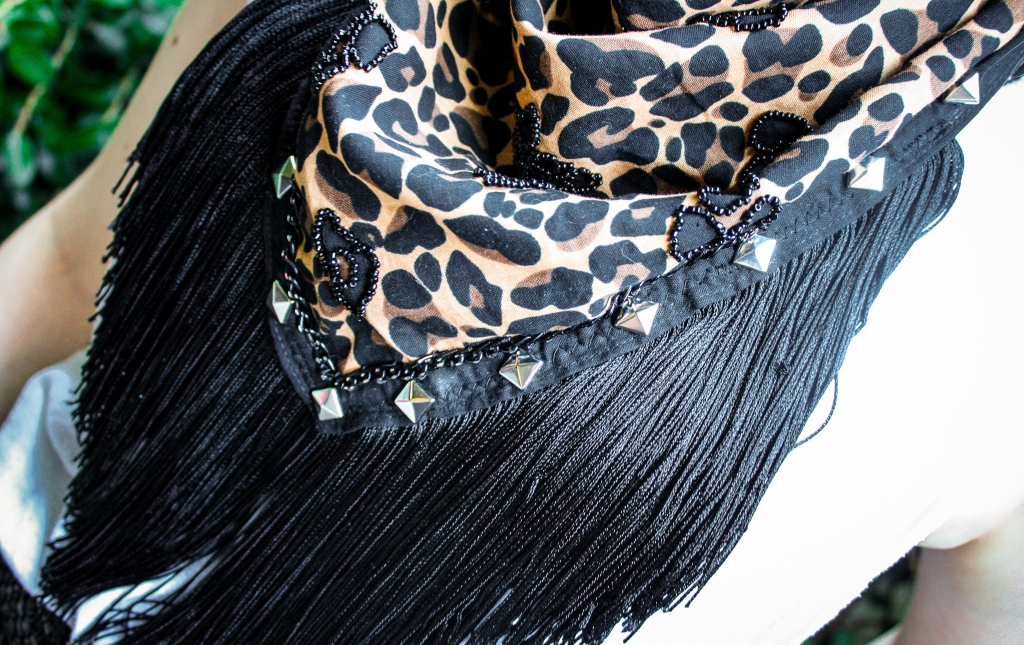
++ Measure & cut enough fringe to line the edges. Sew it on by hand or with a machine.
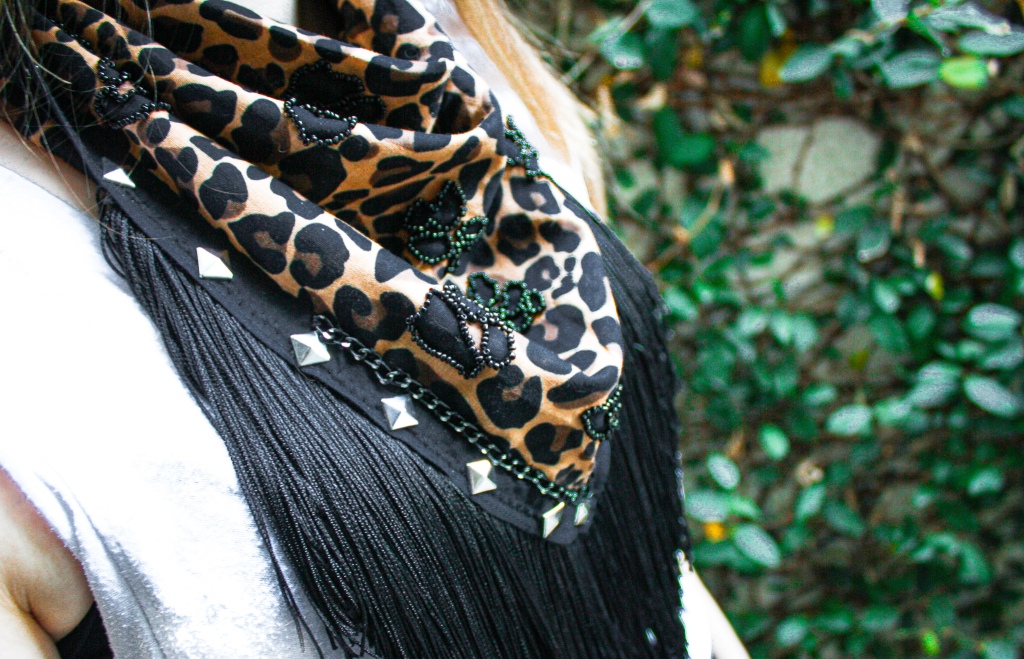
++ Measure, cut & hand-sew any additional decorative trim, like curb chain.
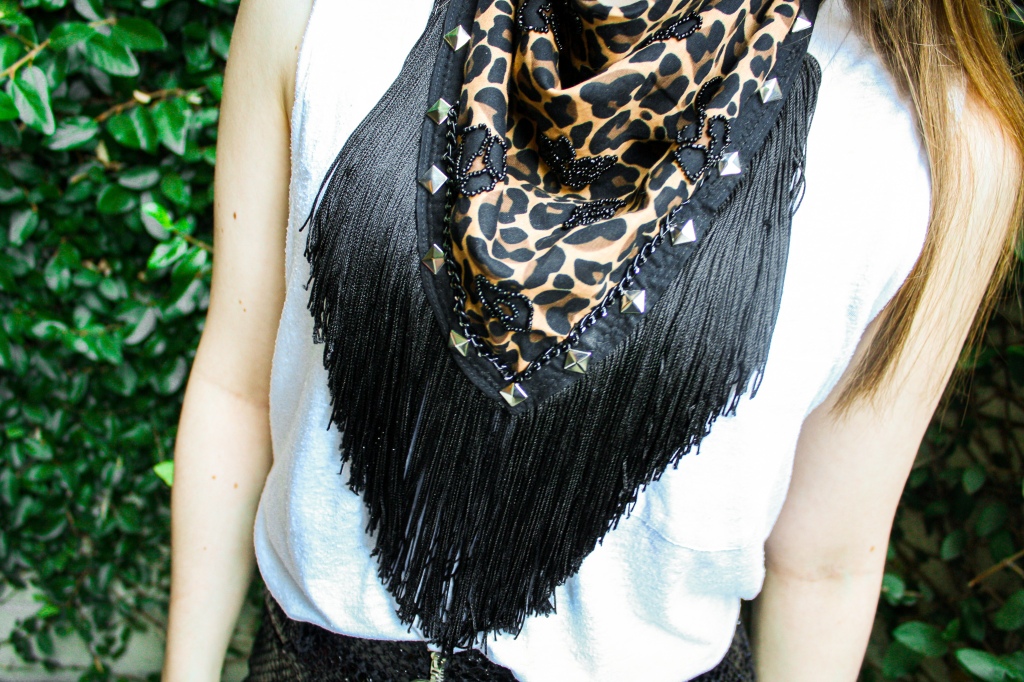
++ Finish attaching any other final details, such as light-weight studs — and BAM! There you have a beautifully glam bandana.
// PROTIPS //
++ If you choose to bead, note that beading needles and regular sewing needles are different. Beading needles are much longer and thinner in order to go through the teeny tiny seed beads – plus the world’s worst to thread. You also can’t use thicker thread with beading needles because it won’t feed through the eye, so go with one that’s thin yet durable.
++ When beading straighter designs, you can sew more beads at a time. For curvier details that need greater accuracy (i.e. our beautiful leopard spots) you have to stick with one to three beads at a time.
++ It’s easiest to dump your beads into a shallow container and stick your needle into the pile to catch them instead of hand-threading each bead onto the needle.
++ When hand sewing any other details onto your presentation side of the bandana, also be careful not to accidentally sew the two sides together! Speaking as someone who this mistake the first time…ugh.
Infinity scarves, don’t say we didn’t warn you. Because this chic, post-summer staple is most def here to stay.
Let us know how they turn out for you!
xxAA
