THE BEST HOMEMADE CHEX MIX EVER

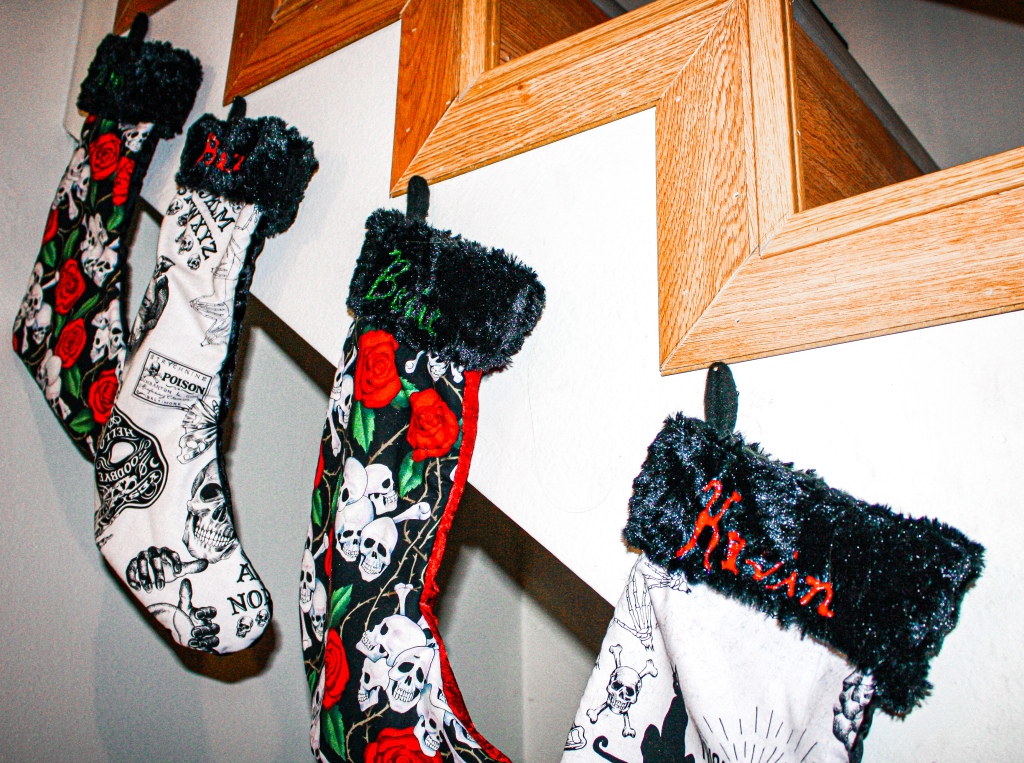
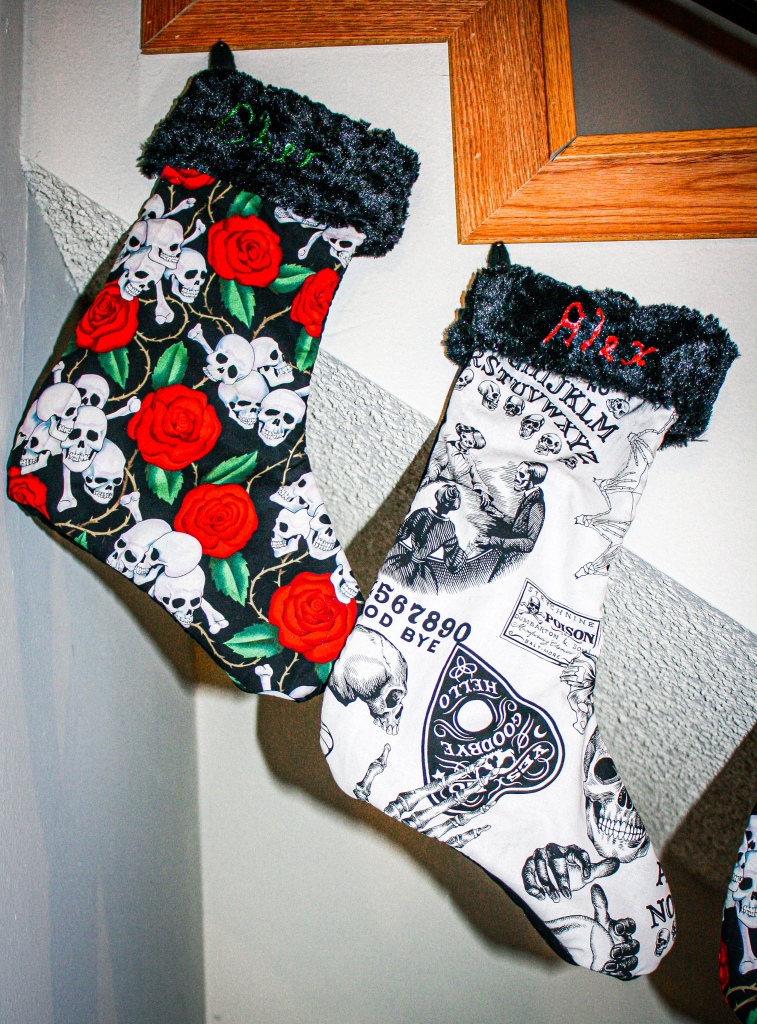
Is anyone else still trying to catch up from the holidays, or is it just me?

Ugh, seriously. It’s great. It’s fun. Wouldn’t trade it for the world, but MAN – routines sure do get messed up. Which is why it’s January & I’m ~just now~ getting around to posting about yet another timeless, top winter tradition: HOMEMADE CHEX MIX!

Best chex mix recipe

((even though it’s totally fitting any day of the year))

It all started back five, six…maybe seven years ago when I launched into the ultimate mental quest to come up with the perfect little holiday gesture for friends, the fam & neighbors. Of course there’s always cookies & chocolate, but everyone already has enough of that come this time of year (I guess from all of the other people trying to come up with the perfect little holiday gesture, too?). 

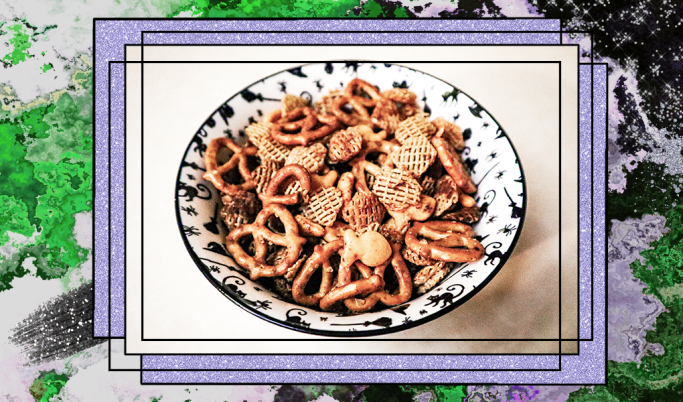
So if we’re not going sweet, then all roads clearly lead to salty…which means figuring out how to make what’s only the most rich, delicious & supremely perfect bar/party/alone-in-your-bed-at-3AM snack ever. And we did it! So now we share.

Because hello, the world NEEDS Chex Mix. And we aren’t monsters…

// INGREDIENTS //

+ 2.5 c corn Chex

+ 2.5 c wheat Chex

+ 2 c pretzels 

+ 1/2 c Goldfish (or other cheese cracker)

+ 1/2 c raw almonds 

+ 4 T butter (or Earth Balance for all my vegan peeps)

+ 2 T Worcestershire sauce (again, could easily swap for a vegan version)

+ 1-2 T hot sauce

+ 1 T chile-garlic sauce (optional but GREAT)

+ 1 T seasoned salt

+ 1 t granulated garlic

+ 1/2 t granulated onion

+ dashes of black pepper, chile powder, cayenne

// WHAT TO DO //

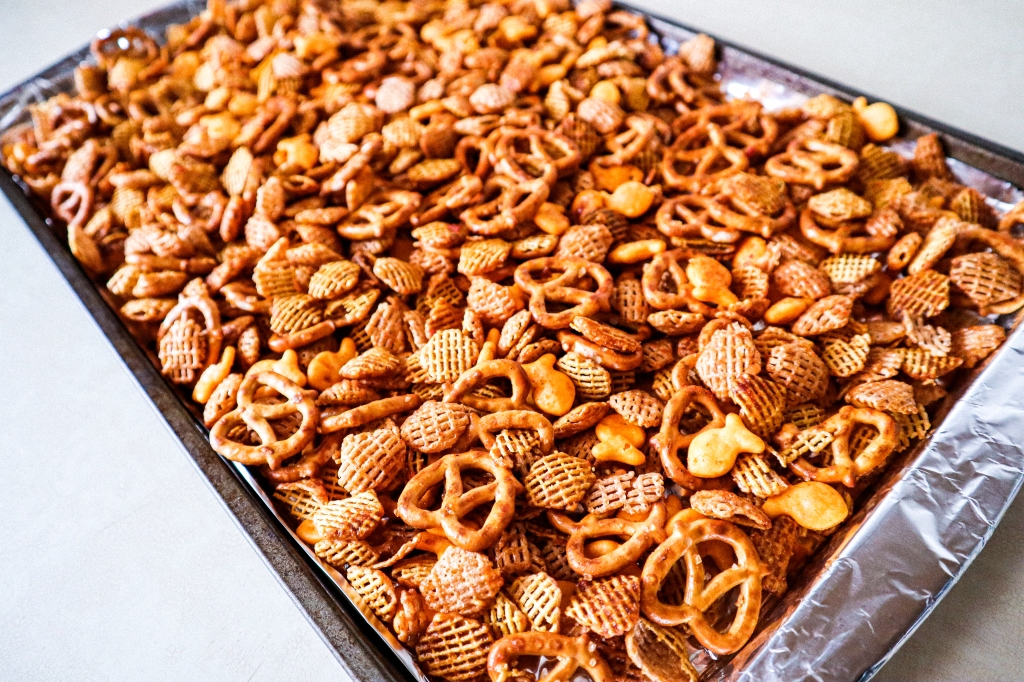
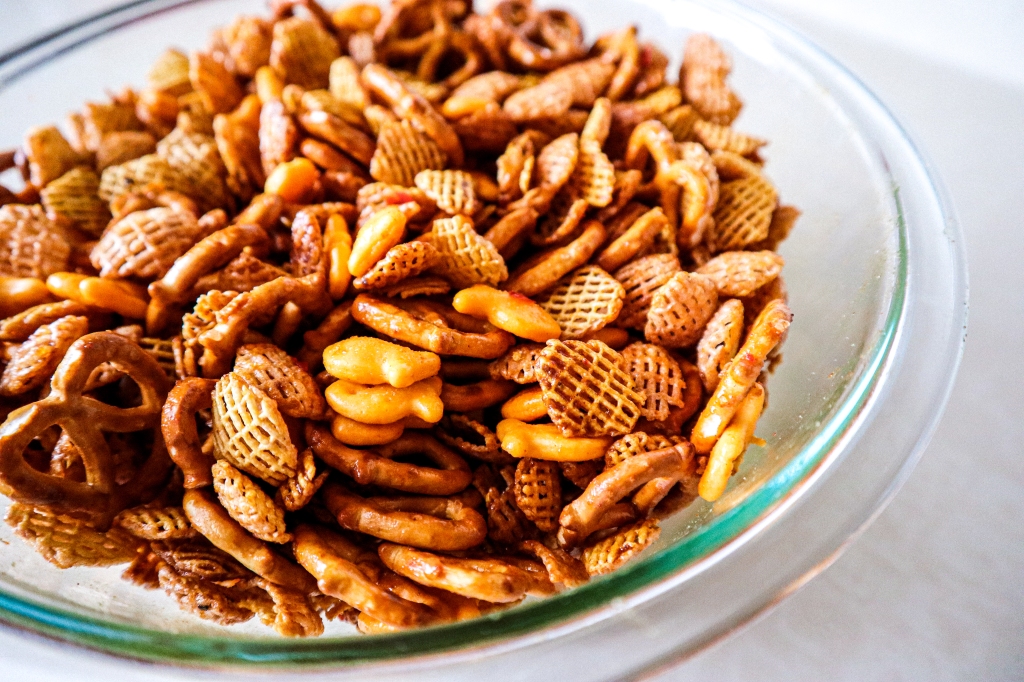
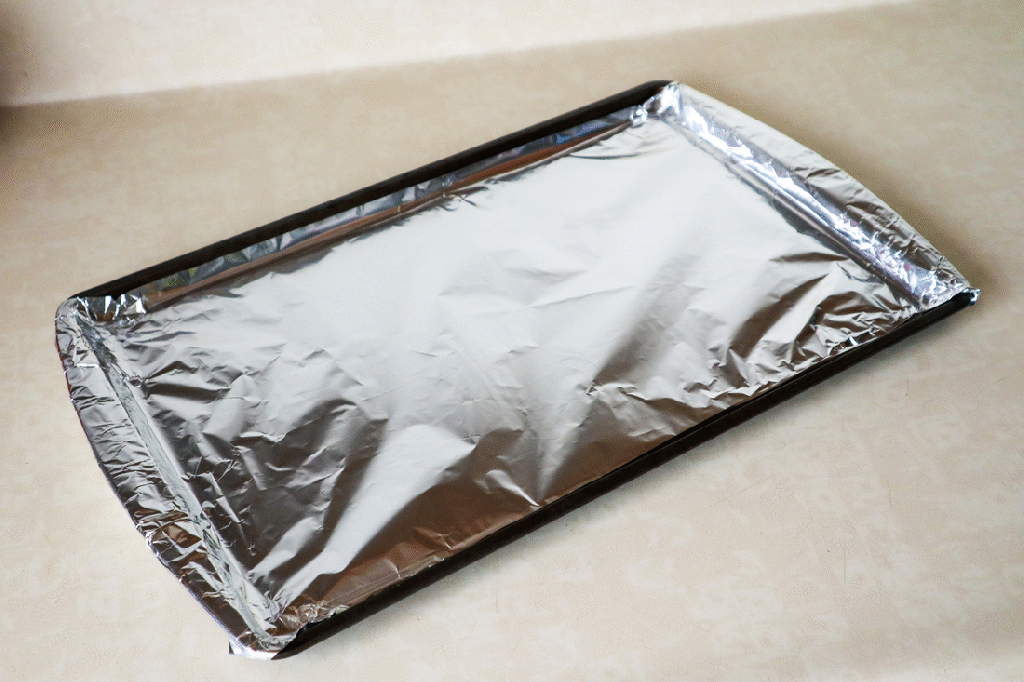
++ Combine the Chex, pretzels, Goldfish & almonds in a large (& I mean large) mixing bowl. Then, line a large baking sheet with aluminum foil & start preheating the oven to 250ºF.

Party snacks

++ Melt the butter on the stovetop or in the microwave & mix in all of the sauces & spices.

++ Pour the delicious butter/sauce/spice mix over the dry ingredients & gently stir until everything is coated.

++ Pour the coated mix onto the baking sheet & spread it out to get as thin of a layer as possible.

++ Bake in the oven for one hour & 15 minutes, stirring the mix every 15 minutes.

++ Remove from the oven & let cool for about 15 additional minutes.

game day recipes

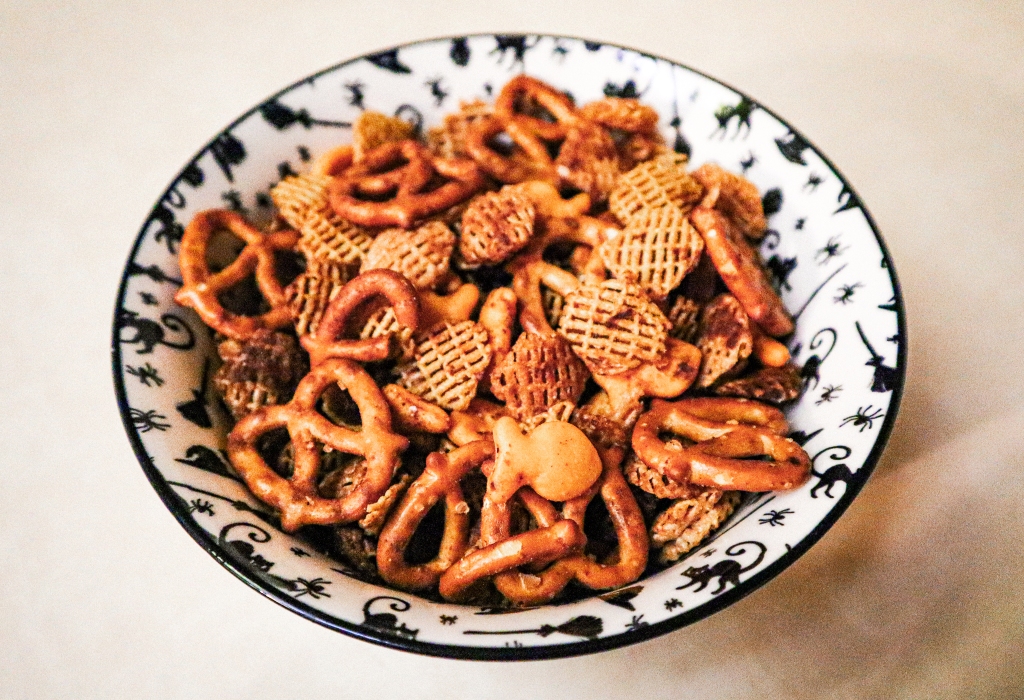
Now, if you’re planning to keep it all to yourself, then simply Tupperware it up & try to resist engulfing the whole batch in one sitting. But if it’s a gift, then you can trick out some easy-to-find (& super cheap!) glass jars with a customized tag, some ribbon & hot-glued trim all the around…

Like this FAUX FURRY TRIM we scored this past year in festively chic emerald & ruby colors!

DIY Christmas gift

Yes, our neighborhood was probably a little confused to find an army of furry jars filled with snacks descend upon their front porches, but hey, that’s the fun, right?

xxAA

DIY SPOOKY CHRISTMAS STOCKINGS

Whenever it comes to the holidays, I’m all about putting new spins on things. Instead of kelly green, let’s opt for emerald. Swap Crayola red for ruby. Cartoon snowflakes & creepy Santa prints? I’ll take metallics & faux fur ANY day.

But when we’re talking about infusing tradition with our own taste, there’s always room (& by room I mean a need) for some spookalicious action as well. Which is why last year as K & I pined over the classic struggle of how to decorate an apartment ((not to mention, with two devious kittens in the mix, too)), we hit a road block. 

UNTIL – the solution came…

Stockings! Specifically, made out of the spooktacularly festive fabric we recently saw at one of our fave local horror stores.

So from there, the creation began. Never had I thought about sewing stockings, but hey, it’s just a giant sock, right? How hard could it really be? And I have to say, it felt like they turned out pretttty freaking well.

Goth Christmas stockings

So kiss the tired, ’80s mantles goodbye! And say hello to the creepy-cute holiday upgrade you never knew you needed…

// WHAT YOU NEED //

+ 1 sheet, tissue paper

+ 1/2 yard, spooky outer fabric

+ 1/2 yard, lining fabric (minky or a short-piled faux fur looks best IMO!)

+ A scrap of ribbon or other thick fabric (for the hanger)

+ A needle & heavy-duty thread

+ Puff paint pens (optional)

goth black white red green fabric

// STEPS //

++ Draw your main stocking shape onto a piece of tissue paper. I used the measurements below, but feel free to customize for whatever size you like/need!

DIY stocking

++ Cut out your stocking pattern & fold the outer fabric in half such that the right-sides are facing IN; & the lining fabric such that the right-sides are facing OUT (a little confusing, but it’ll all make sense in the end). 

++ Pin the pattern onto your outer fabric & cut, so that you have two, identical stocking shapes. Repeat for the lining fabric.

++ Take your two pieces of outer fabric & stack them with the right-sides still facing IN. Then, take your two pieces of lining fabric (right-sides still facing OUT) & sandwich them around the outer fabrics. Pin the fabric stack together – which should look like it’s totally inside out.

++ Sew around the perimeter of the stocking using a zig-zag stitch, leaving about 1/4 inch of seam allowance. 

++ Flip the stocking right-side out (so the outer fabrics should now be on the outside with lining fabrics on the inside) & fold the top down to expose however much of the fuzzy fabric you’d like.

++ Cut & fold your ribbon/thick fabric into a sturdy loop, then stitch it onto the top corner of the stocking to create a hanger.

++ And finally, if you want to puff-paint names onto each for an extra personal touch, feel free! Or else just hang & admire a darkly festive job well done.

DIY Christmas stockings
skull and roses ouija board

What are some of your favorite twists on tradition?

xxAA

DIY STEAMPUNK-CHIC FAUX FUR SCARF

JON SNOW BUT MAKE IT FASHION

That’s the main idea I ran with for this latest accessory fresh off the line (read: my dining room table) for winter. It’s part scarf, part shawl – with a hint of steampunk, meets early 2000s Tripp pants, meets…those IKEA rug capes that Jon & his Night’s Watch bros donned over at The Wall in Game of Thrones.

Faux fur scarf

Perhaps a combo you never would have dreamed, but here we are! And it’s amazing.

Much like our chain cape necklaces, I’m all about the subtle, industrial-chic accessories. Sure, jewelry is cool, but can it turn plain shirts, sweaters & more into whole new statement pieces? Not so much.

So this is one that truly delivers.

Another little confession time tidbit for ya: despite trying & trying (& trying & trying…), I’m part of the 0.1% who never could fully get onboard with the whole GOT obsession. BLASPHEMY some might say. Believe me, I’ve heard it. Although hype wars aside, there’s no denying some of the fashion was pretty on point.

Especially those incredibly repurposed, super thrifty, IKEA rug capes.

Snaps for you, HBO.

// WHAT YOU NEED //

+ 1/3 yard of faux fur fabric

+ 1/3 yard of lining fabric (poly-satin works great)

+ Two pieces of 1/2” grommet/eyelet tape, each cut 18 inches long (adjusted to your own torso measurements, if needed)

+ Two 1/2” swivel hooks & one matching D-ring

+ One 3” piece of black elastic (1/2” wide)

+ Needle & heavy-duty thread

+ Sewing pins

Black goth steampunk fabric

// STEPS //

++ Cut your faux fur into a strip approximately 40 inches long by 6.5 inches wide (NOTE: unless you’re in the market for a fur storm, push the pile to the sides as you make small snips down the middle of the split to minimize shedding).

++ Cut/round off the top corners of the fur so its final shape matches the graphic below (adjusting to your own measurements, if needed).

((hopefully my precious little graphic isn’t too confusing!))

++ Flip the fur over so that the wrong side is facing up. Lay the lining fabric on top & begin pinning it to the fur, leaving one to two extra inches of lining sticking out past the edges. 

++ Trim off any excess lining fabric beyond those one to two extra inches, remove the pins & flip both of your fabric pieces over so that the right sides are facing each other. 

++ Re-pin the two fabrics together & make sure to keep all faux fur strands around the edges tucked inside. That way, we can fluff it all out later, as opposed to it getting stuck inside the stitches.

++ Fold the strip of elastic in half, stick it through the D-ring & fold in half again. You should now have four layers total with the D-ring sandwiched in the middle.

++ Pin the elastic/D-ring into place (again, check out the graphic) so that it will stick out of the back once we turn the finished scarf right-side out.

++ Use a sewing machine to sew along the two long edges, leaving the curved ends un-sewn for now (this helps prevent the lining from sliding around & getting mind-numbingly messed up). Remember to keep the fur strands tucked in as you go.

++ Sew along the edge of one of the rounded ends to close it up, then flip the scarf right-side out. Ensure all looks good & if so, carefully hand-stitch the other end closed.

++ Fold one piece of the grommet tape around the swivel hook and straight stitch it into place. Clip the swivel hook onto the D-ring & put on the scarf. Follow the grommet tape (making sure it doesn’t twist) to the outer edge of one of the scarf’s ends & pin it wherever feels most comfortable to you. 

++ Straight stitch (or hand-stitch) the tape into place & repeat for the other grommet tape/swivel hook set on the other side.

Steampunk fashion scarf
DIY goth steampunk accessories
Grommet tape

Pretty please share if there’s something crazy you’ve ever repurposed into gold!

And in the meantime – stay warm, frost kittens…

xxAA