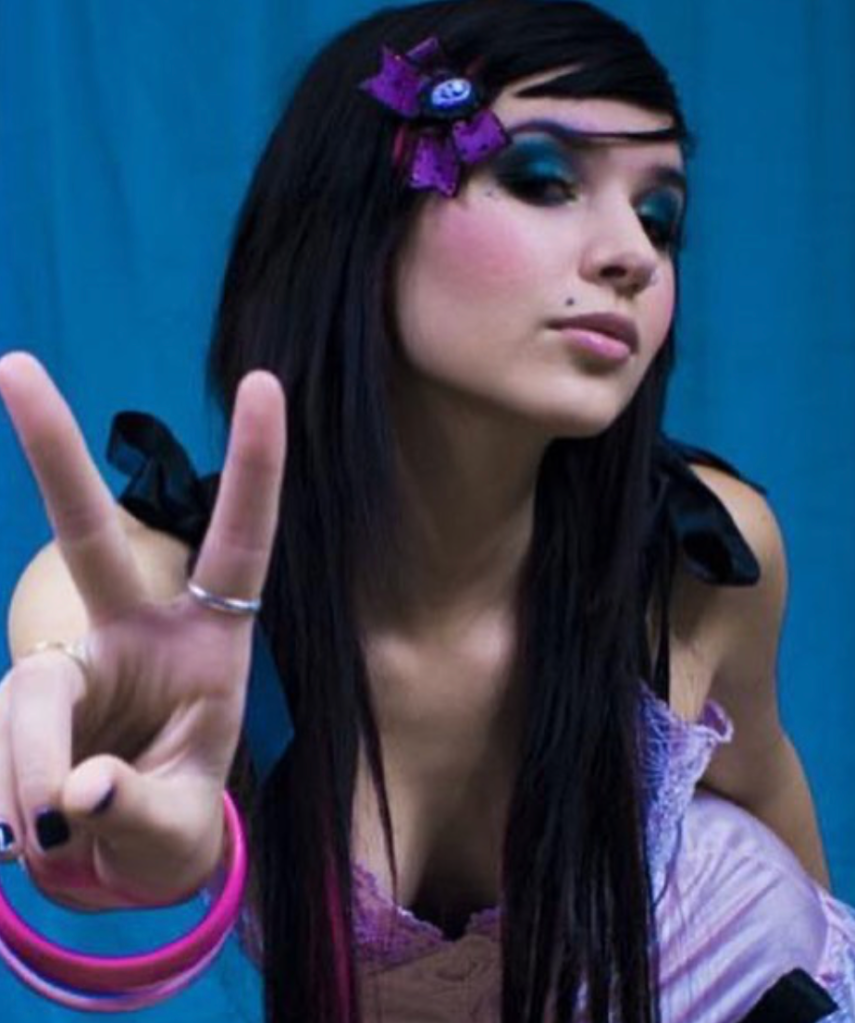
Oh, MySpace. Anyone remember that?
Bulletins, profile songs, HTML editing & Top 8s with the power to start a war—those were the days…
Except not, because social media is still social media & even back then it had its problems (thanks, Tom).
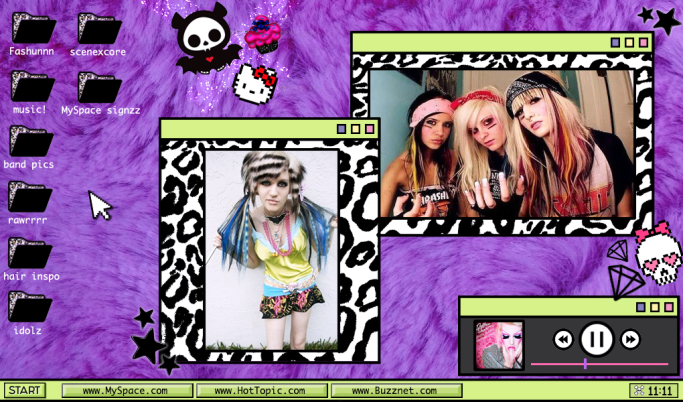
But in a world before the term “influencer” was actually coined, they definitely still existed. And if you ever logged onto the Internet between the years of about 2006 to 2010, you more than likely remember seeing a few of them with bubble gum pink hair, pounds of eyeliner & some of the first high-profile obsessions with online self-promotion on the books.
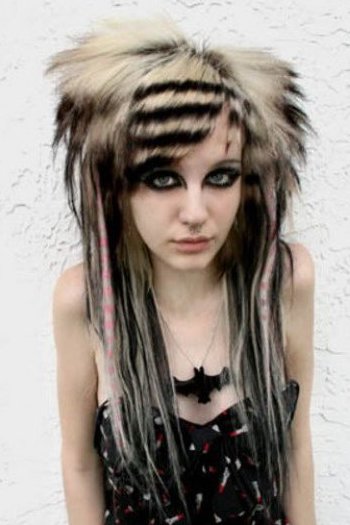
In the words of David Letterman, this next guest needs no introduction. Many of us were there & fortunately lived through it. Though either way there’s no ignoring what’s lived on as one of the most ridiculous fashion phases to hit the 21st century yet: scene kids.
The mountains of hairspray, closets full of Vans, neon everything, Hello Kitty bows, coontail extensions, morbid alliterations, maxing out the contrast on photos taken from every above-the-head angle in existence & using dryer sheets to make your hair to stick to your face.
You remember the ones.
Even though many of us thought it was a GREAT idea at the time, in hindsight, it was about as obnoxious as it gets. And while we have covered how some countercultures stick with you through thick & thin, this is one that – praise the sartorial gods – did not.
Which was definitely for the best.
Although regardless of how you feel, there’s still no discounting the personal brands that several of the biggest “Scene Queens” managed to build. At the time, they were iconic. Their LiveJournals were must-reads. And even though some eventually fell into the chasms of irrelevance – for others, it was only the beginning of what career milestones they’d go on to hit.
Seriously, who woulda thought???
JAC VANEK
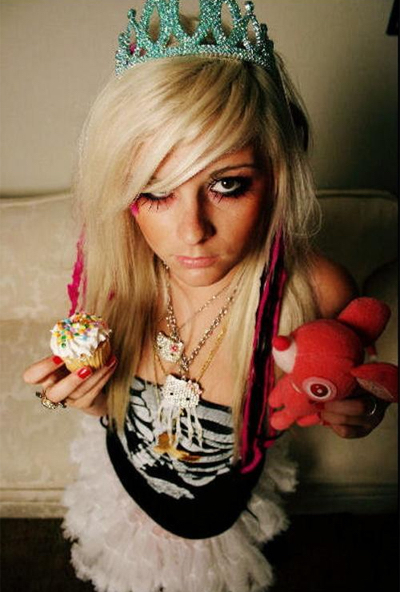
If you remembered all the things as previously mentioned above, then you most def remember the scene staple that was a Jac Vanek rubber bracelet. Arguably now poised with the most mainstream success of them all, Jac was a true pioneer in the scene – starting with her relationship with OG P!ATD guitarist Ryan Ross (UGH, throwback swoons).
Even though she was sometimes interpreted as nothing more than a Warped Tour band groupie, she’s actually always been the most entrepreneurial of the bunch. After years of raking in the dough from her personal merch brand, she’s now 1/3rd of the mega-popular podcast (& former E! show) LadyGang & has expanded her apparel brand to a few little stores you may have heard of – like Nasty Gal, Topshop & Zumiez.
NBD.
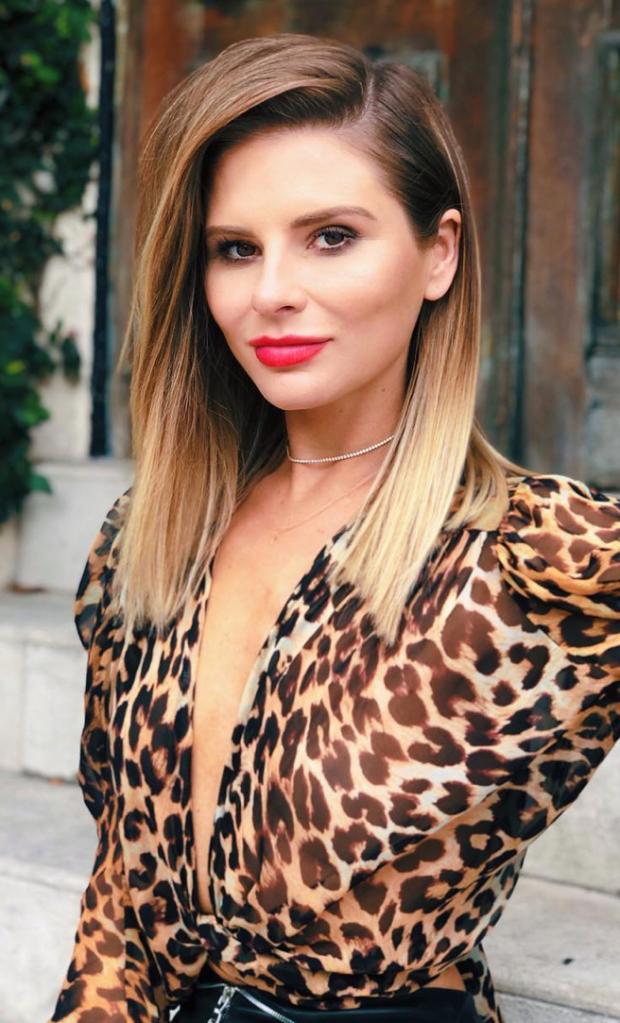
AUDREY KITCHING
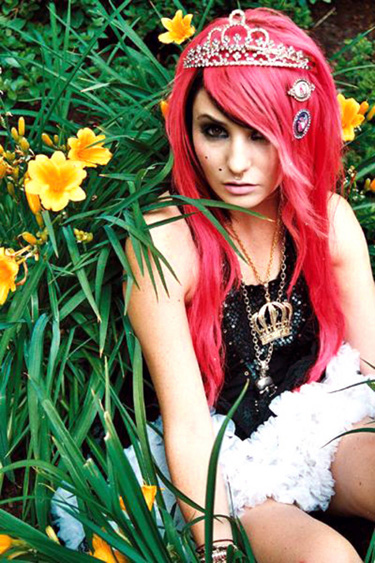
Similar to Jac, Audrey is another one who staked her claim to scene fame from the start. After gaining online traction from being a teenage model-turned-blogger, she quickly rose to Internet popularity for her notoriously polarizing sense of style. As years went on she (& her look) started to separate from the scene, but that was far from the end of her time in the limelight.
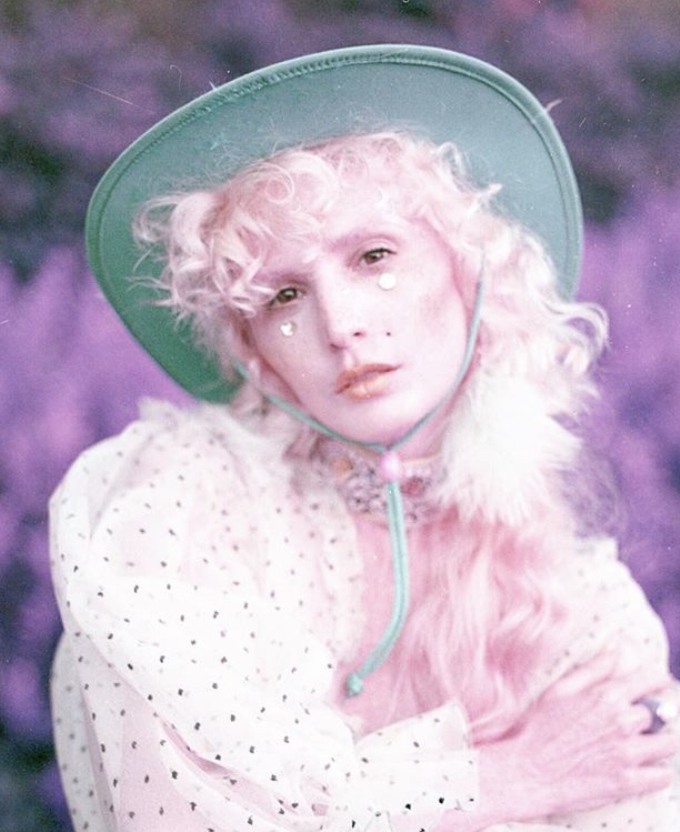
Ditching the hot pink hair for more cotton candy vibes & trading Skelanimals shoots for astrological studies, she’s spent the last several years transitioning her brand into the spiritual space. Armed with her new age lifestyle company Crystal Cactus & an insane Instagram feed that’s straight out of an alien dream, she’s certainly come a long way from the plastic tiara days.
JEFFREE STAR

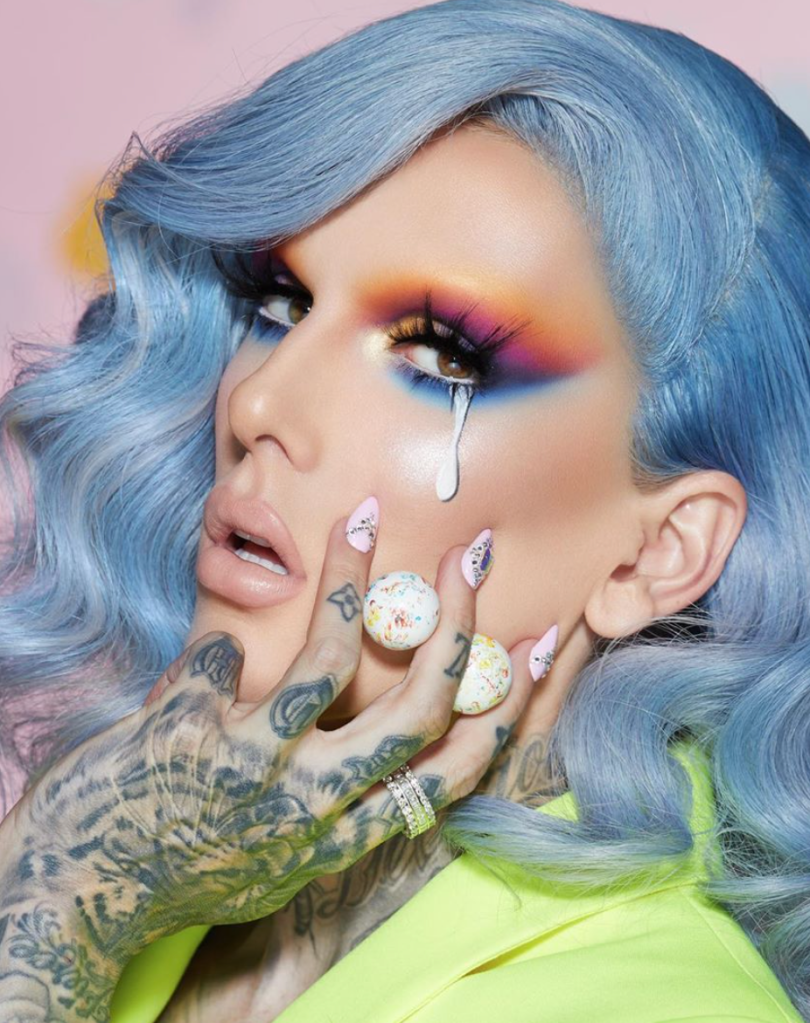
I know we’re all dumbfounded “Fame & Riches, Rehab Bitches” didn’t get that Grammy nom back in 2009, but Jeffree Star is another former SQ who’s still going surprisingly strong. Instead of falling off the face of the earth as could have easily been an option, he swapped MySpace for YouTube & has since become one of the highest paid vloggers in the world.
Initially reinventing his online empire with the help of makeup tutorials, Jeffree went on to launch Jeffree Star Cosmetics in 2014…which subsequently has become a multi-million dollar company. And despite his seeming habit of picking fights with the likes of Kat Von D, Too Faced Cosmetics, Kylie Jenner…oh yeah & Kim too, one can’t deny the success he’s managed to find.
HANNA BETH
Once an influencer, always an influencer – or at least, that seems to be the case with Hanna Beth! Reining as one of the top queens (next to Audrey, of course) proved to be a stellar warm-up, since she’s now pivoted to the great, wide world of social à la Insta. From what I gather, the ‘gram is about as far as it goes (minus her winning stint on the short-lived E! competition reality show House of DVF), but hey, she’s doing her thing. And seems to be pretty content with how it’s all going.
KIKI KANNIBAL
Unlike the four we’ve mentioned so far, Kiki Kannibal (AKA Kirsten Ostrenga) is one that might be more ‘know the face, not the name’.
She definitely had the hair on lock & we give her mad entrepreneur points as well with those signature diamond necklaces. But if Kiki were a Friends episode, she would unfortunately come to be “The One Who Played With Fire” – as crazily chronicled by Rolling Stone a few years back.
Contrary to the rest of this squad who were at least in their twenties at the time, she was on the opposite end of the spectrum at only 14. Needless to say, it turned into a pretty gnarly path of death threats, abuse & creeps to the extreme, so now she’s moved onto a better, (slightly) more private way of life. Which apparently includes vlogging, environmental consciousness, veganism & being a fiery sprite.
ZUI SUICIDE


And lastly, there’s Zui Suicide. While her sticking fame has always been a little more understated than the rest, she certainly had her own knack when it came to social media savvy. In addition to starring alongside Audrey in the YouTube reality show (I guess we’ll call it?) Trashy Life, she was also one of the first official Suicide Girls! Which is pretty cool. But instead of posing for Hot Topic, it seems a lot of her time nowadays is dedicated to #momlife.
With the occasional photoshoot still sprinkled in, too.
Well hopefully that was a nice little trip down memory lane. Getting caught up on all the things you hadn’t thought about for a good eight years – & are just as happy to never think about again.
Guys, it was bleak. But we made it! And our hair still thanks us for the reprieve.
Cheers to glowing up.
xxAA