HAPPY CHERIVERSARY!!!

As of today, it’s officially been two whole years since this crazy little maniac splashed her way into our lives. So naturally, we had to celebrate the occasion in style!
Brunch style, to be exact.
After some epic menu planning, vibe coordinating & purchasing a LOT of cheap champagne, the Cheriversary brunch bash was born. And I have to say, it turned out to be prettty epic.
Even though I’m obsessed with the idea of entertaining (past life experience, I’m sure), I honestly haven’t yet had a ton of opportunities to throw ~bigger deal~ get-togethers of my own. So despite having to exercise self-restraint at every turn (i.e. no metallic balloons that spelled out “CHER”), it was major fun figuring out how to orchestrate a five-star fab gathering- while also not breaking the bank.
Sure, a bottomless pocketbook is nice, but getting creative is where all the fun is anyway. So we’re here to discuss some of the tips & tricks that helped make this mission possible:
MIMOSA BAR

Who doesn’t love a good mimosa bar? Monsters, that’s who. When it comes to hosting, no matter how big or small, mimosas are ALWAYS a fantastic option. You can go however all out or reined in you’d like in terms of selection, and they can be relatively inexpensive, too!
((if you’re down for J. Roget))
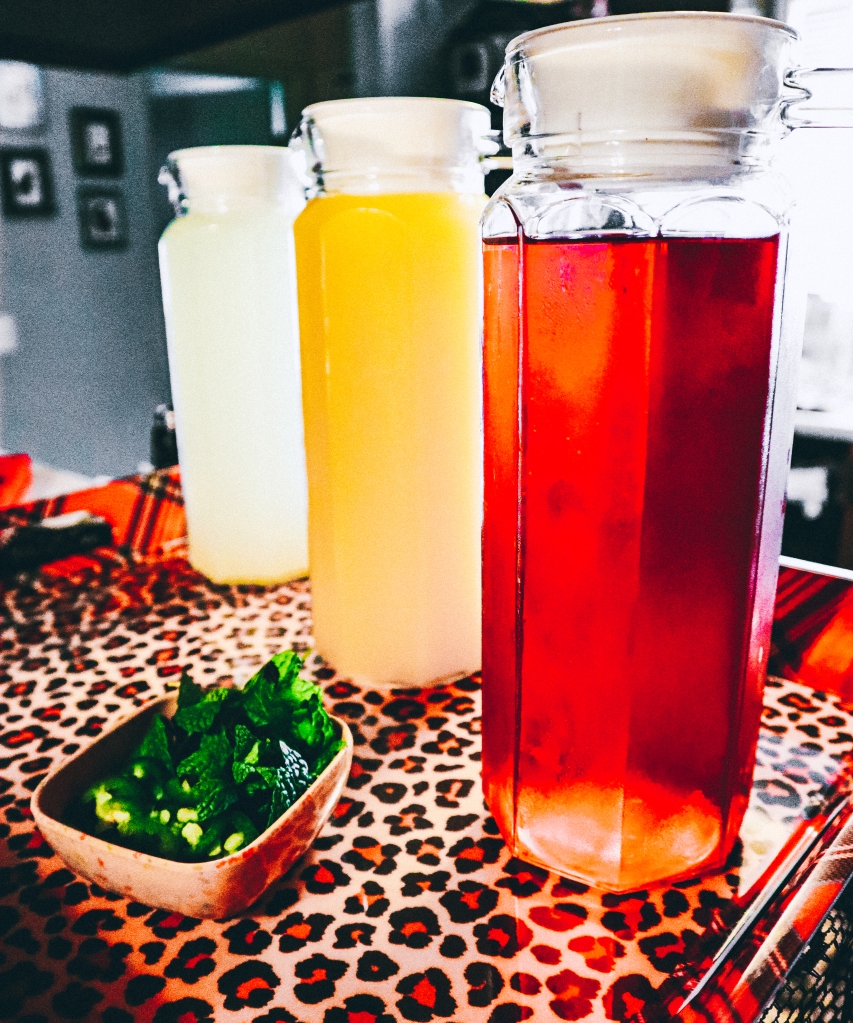
For this round, I filled glass carafes (s/o to the 99-cent store) with orange, cranberry & limeade juices plus fresh mint & insanely thin-sliced jalapeños for garnish. With so many fun juices available nowadays, they’re super fun to play around with. Although, if you get a little turned off by how concentrated & sugary some of them can get, I always like to have sparkling flavored water on hand to help cut it. Extra flavor, a few less calories- it’s a win-win.
EVERYTHING BAGEL & LOX CROSTINIS

The original idea was to use bagel chips. But news flash: BAGEL CHIPS ARE IMPOSSIBLE TO FIND. In Burbank, at least. Who knew. Though luckily these garlic butter-drenched crostini’s flew in to save the day, & it totally worked just the same.
Topped with whipped cream cheese, some slices of TJ’s smoked salmon, slivers of red onion, a caper & everything bagel seasoning…in the words of Rachel Zoe: I die. We die. Ugh, so good.
HASHBROWN CUPS

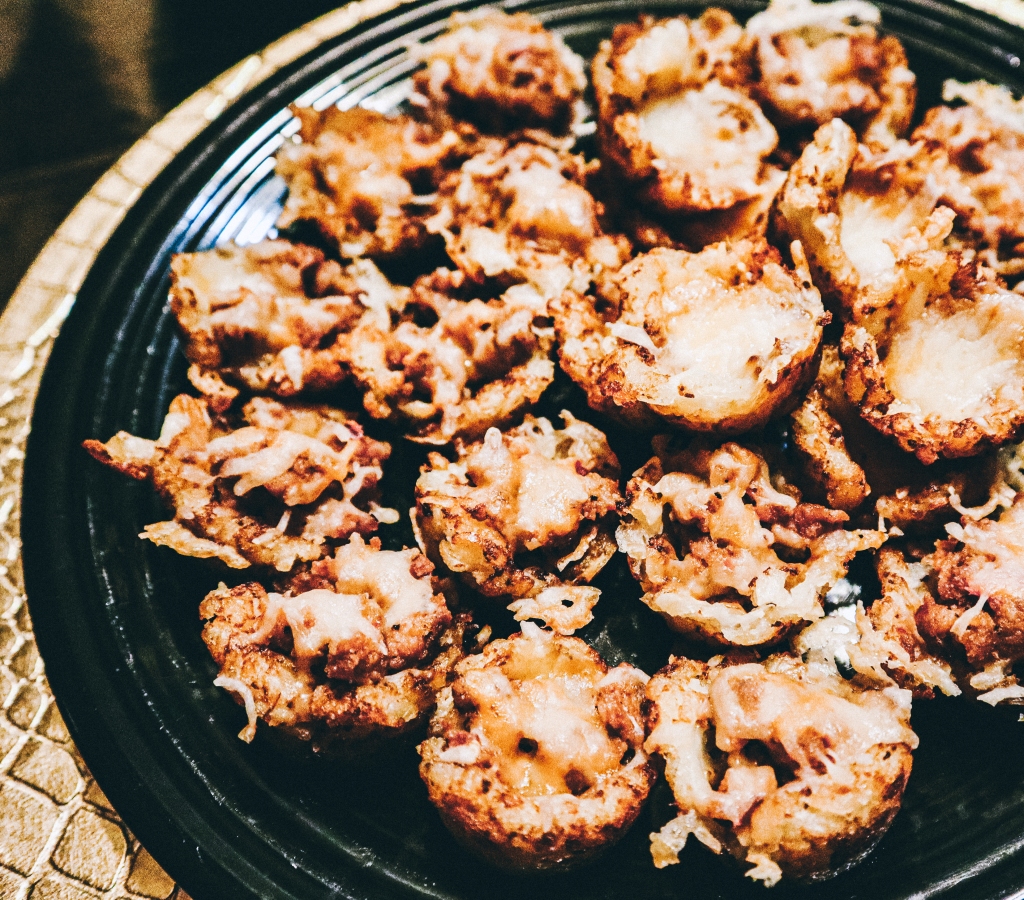
And speaking of Trader Joe’s, I swear they have the BEST frozen tots. Don’t ask me why, it’s just a fact. So sticking two of them into each pit of a mini muffin tin to bake for ten minutes, then squishing them into cups topped with sausage &/or cheese to finish baking for another ten was next-level. Plain & simple.
MINI GREEN CHILE QUICHES

Two words: PRAISE MARTHA. I’ve never made quiche before, so obviously doing it for a crowd sounds like a great setting to first attempt. But with the help of OG lifestyle guru Martha Stewart, it went off without a hitch.
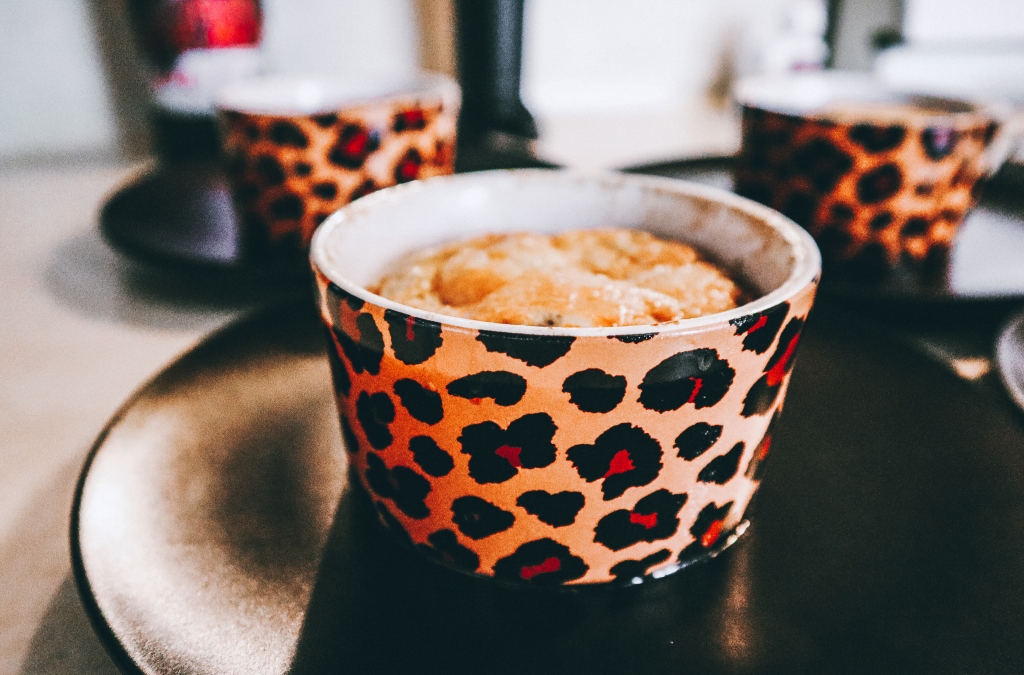
Spring boarding off of this basic recipe, I customized our mini quiche moment with bacon, mushrooms, green chiles & some cheese…which will definitely linger in my dreams for the next two weeks, minimum. Coupled with these Cher-approved, leopard print, oven-safe ramekins, it was the perfect nucleus of the menu.
Science.
BLOOD ORANGE OLIVE OIL CAKE

While I do love a good bake sesh, there was a ton of other stuff to do. So for even the most novice of bakers, an olive oil cake can do the trick! It’s fairly simple to throw together & best of all, there’s no complicated frosting job required. You basically bake it upside down, plop it out onto a cake stand (in my case, a $2 matching charger plate hot glued onto a candle stick- it worked so well) & bask in the beauty that is caramelized blood orange topping.
…& GRAPES
I thought long & hard about a glam, Pinterest-inspired fruit platter, only to remember how awkwardly expensive fruit always is. So we settled for grapes, which actually ended up being a perfect accoutrement to satisfy the brunchy craving.

I mean you have graduations, birthdays, retirements, whatever. But “gotcha days”? They’re the best of them all. So even if your familiar’s anniversary isn’t anytime soon, hopefully you can get down with these tips & feel the need to go throw a brunch for them anyway.
And if there’s anything else as equally fantastically psycho you’ve ever done for your pet, please do tell.
I’m always looking for inspiration.
xxAA


