5 SURPRISING CELEBS THAT WERE GOTH (AT ONE POINT), TOO!

Teens in 2000 to 2009: IT’S NOT A PHASE, MOM

2019: … *Spotify Year In Review is filled with all the same music*

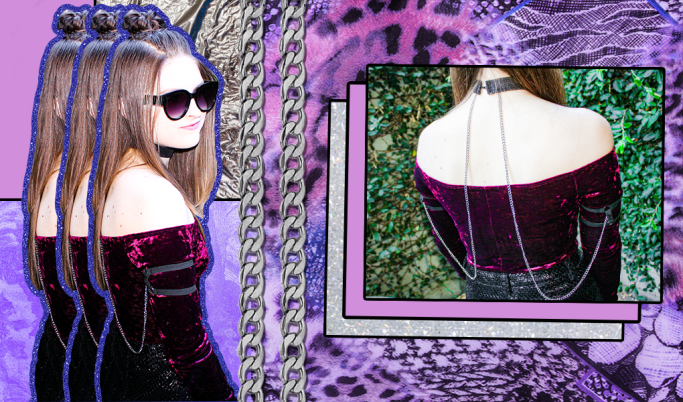
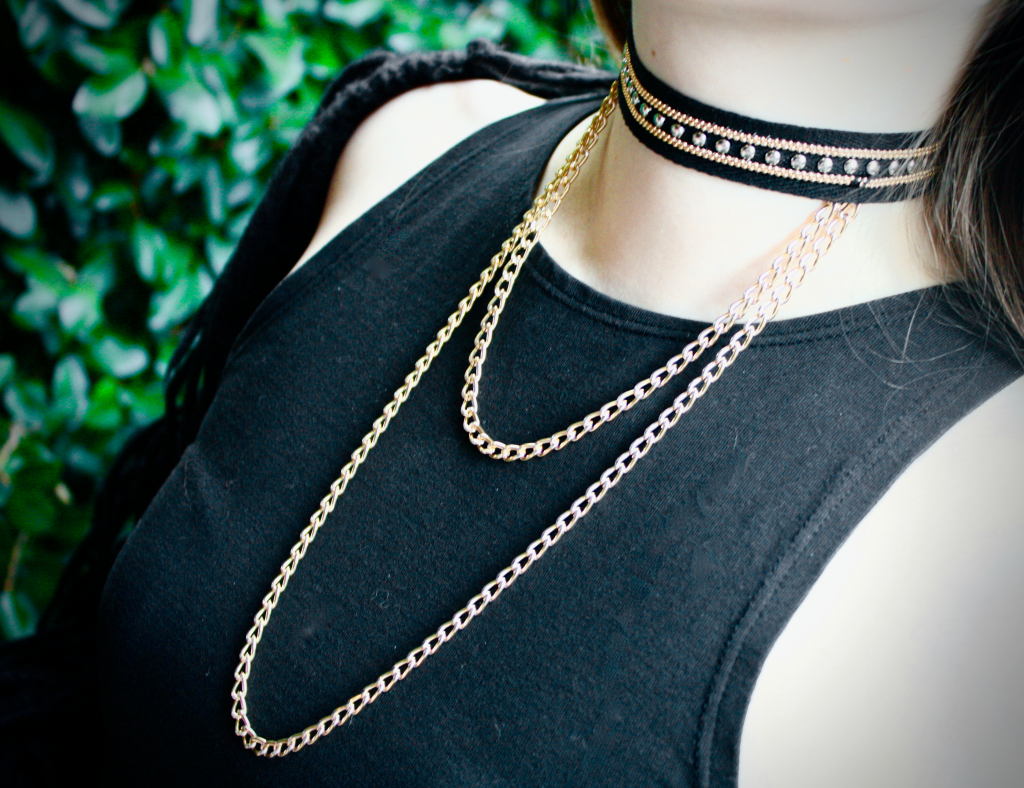
Regardless if you’re one to still let your freak flag aesthetically fly, or keep it reined in to your playlists & choice of nail polish, the fact is we’re in exceptionally good (& large!) company when it comes to the roster of current- & former-goths.

Hopping onto the bandwagon for shallow reasons was always one thing, but I am a HUGE believer that any genuine alternative “phase” (not a phase) is something that potentially sticks with you forever. 

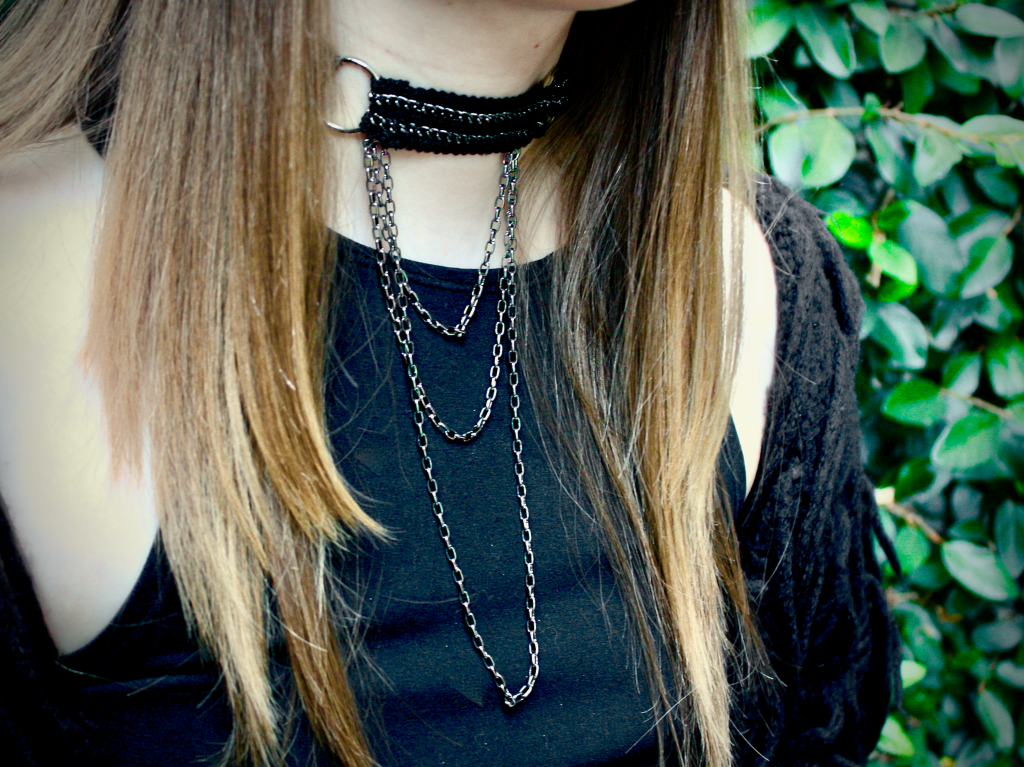
Time is a thing. So eventually you grow out of the angsty teenage years, set sail into the workforce, evolve your style & may or may decide to bring the aesthetic along with you. But even if you trade in your blue hair for blowouts, & industrial dancing cred for an ergonomic office chair, it doesn’t mean that part of you doesn’t continue to play a role.

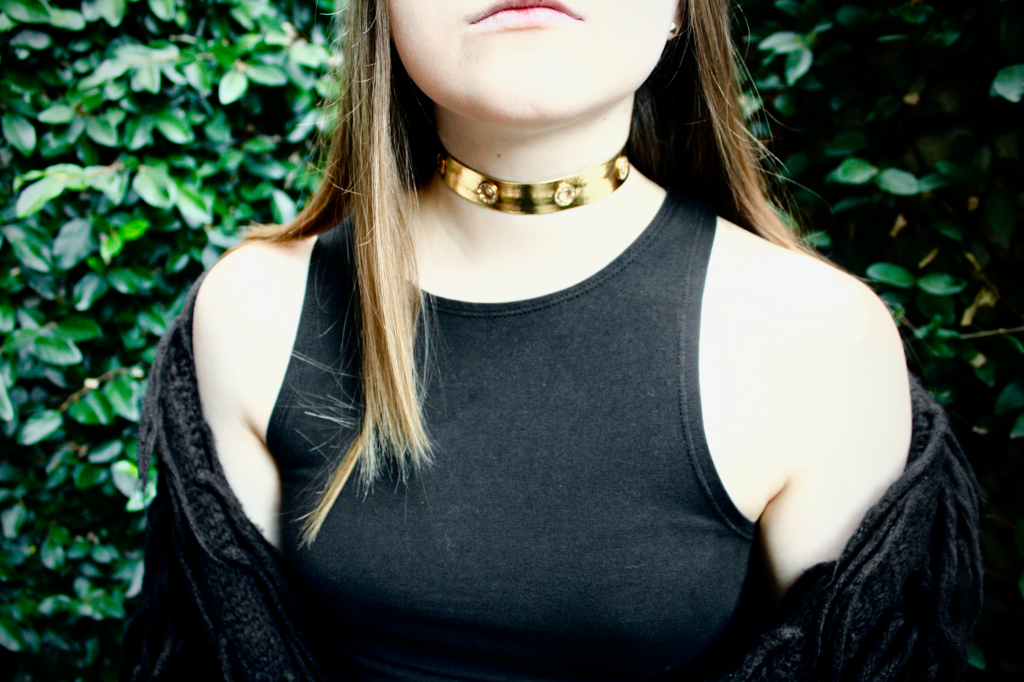
Way back when in those god-awful grade-school years, we were all drawn to whatever scene for a reason. Whether it was the music, the movies, the themes or philosophies held by its people, there were crystal-clear reasons why your little black sheep heart chose the pop-cultural path it did. And here you are, metamorphosed into the slightly less fledgling of a freak that stands today!

No doubt, it’s been a wild ride. Although I think it’s important to stay true to & relish in the things you KNOW have always stuck near & dear to your heart. No matter when you discovered them…& no matter what type of highly questionable hairstyle you inevitably sported at the time (did I mention we’ve all teeth-clenchingly been there?).

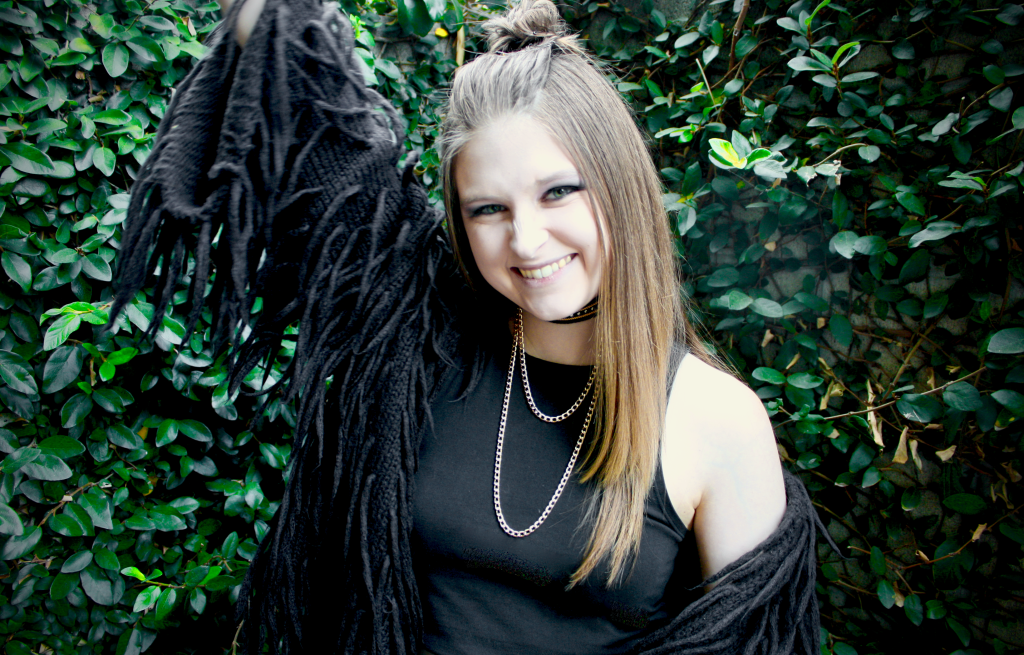
Which is why my rant is officially over & it’s now time to remember that celebrities are hilariously no different. 

Seriously! When you think “goth” celebs, of course there’s Kelly, Winona, Taylor Momsen – you know, the ~obvious~ suspects who’ve never fully abandoned their dark-friendly looks. Then, there are the A-listers like Taylor Swift who have ONE old MySpace picture with dark hair that the Internet freaks out about & claims it was a “it’s not a phase, mom” phase. Ugh, insane. 

BUT those aside, I wanted to pull the curtain back on a few of the more unsuspecting peeps. Like the ones you never would have guessed they took their looks to the dark side at one point or another.

Because as I mentioned, we’ve all teeth-clenchingly been there !!!

So let’s begin:

CHRISTINA HENDRICKS

Christina Hendricks goth

Image Source

Office Manager of a 1960s ad agency is a bit of a pivot from the obligatory brooding-teen-goth-in-the-woods pic, but hey, she undoubtably rocked it! From Mad Men to Good Girls, to one of the voices in Toy Story 4 (none of which I’ve actually seen but a lot of people seem to like !) Christina Hendricks has definitely come a long way from her jet black-laden days.

ELIZABETH HURLEY

Elizabeth Hurley goth punk

Image Source

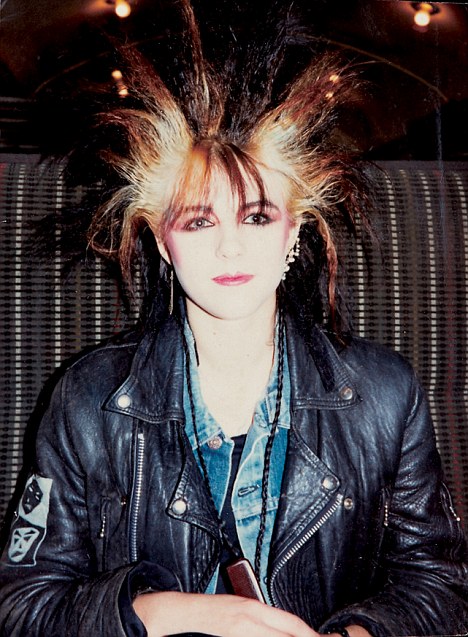
Definitely a punk if there ever was one, Elizabeth Hurley spent quite a time raging against the cultural grain, without question. Of course, we all know the British bombshell from The Royals, Austin Powers & ~most importantly~ Gossip Girl, but before her modeling debut, she was all about this bold, badass & gravity-defying look.

MELISSA MCCARTHY

Melissa McCarthy goth young high school

Image Source

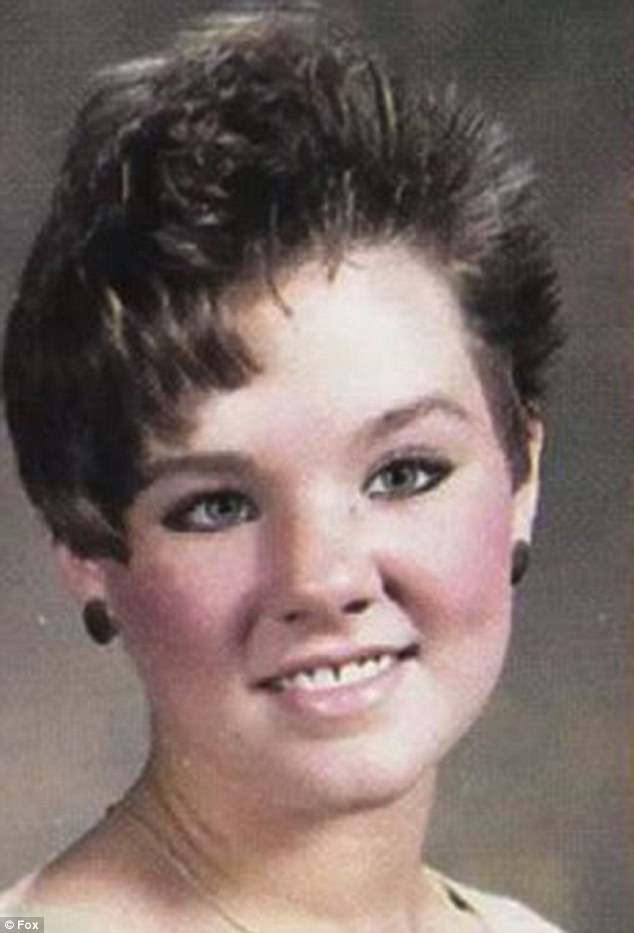
So even though Melissa McCarthy somehow went from cheerleader to mega-goth overnight, we have to at least give her props for some apparently major commitment. According to her husband & fellow actor/comedian Ben Falcone, the Gilmore Girls & Bridesmaids alumna donned a “really scary” kabuki-makeup/blue-hair/black-coat-in-the-summer situation throughout some of her high school years. So wish we had a pic of that!

CATE BLANCHETT

Cate Blanchett goth punk young

Image Source

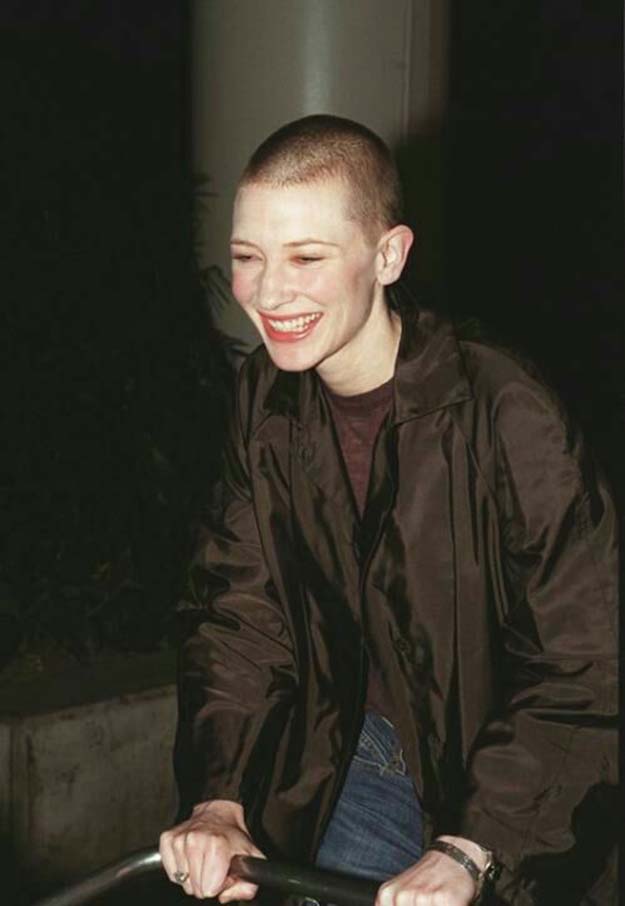
Who doesn’t love a gal with a good buzz cut, am I right? Probably taking the cake of most unrecognizable is the too-many-roles-to-count superstar Cate Blanchett. Citing her pale skin as one of the biggest things she celebrated during the time (girl, we feel), she proudly represented the Aussie goths & now has a million prestigious acting awards to show for it.

ANDREW YANG

Andrew Yang goth young high school

Image Source

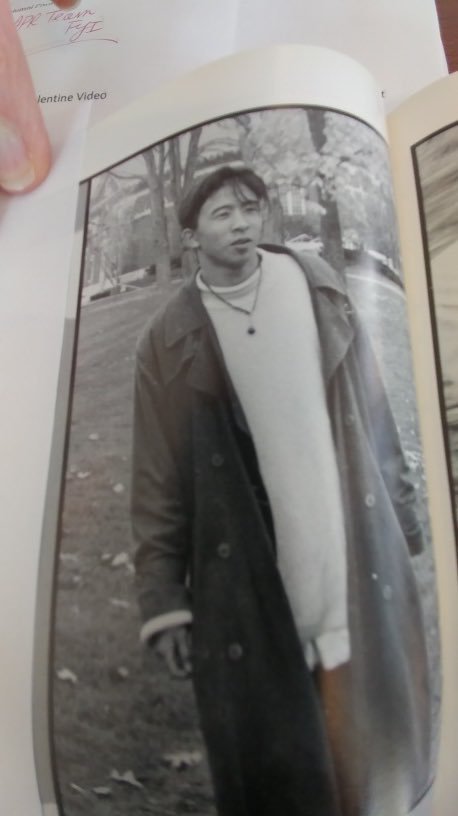
And arguably one of the most surprising of them all, the prez candidate himself- Andrew Yang. Revealing his truth as a full-on “ex-goth” via Twitter earlier in 2019, he included his fave bands of the time & a few pics of the long(ish), greasy hair. A few months later another pic surfaced showing a pretty hefty dose of guyliner as well. But apparently that one was just a Halloween costume.

Embarrassing baby goth photos = SO much to love.

We wouldn’t be where we are now without them. So what’s the best-worst fashion memory you have?

Mine was definitely the great “scene hair” pandemic of 2009…

xxAA

((additional feature image source))

DIY CHAIN CAPE NECKLACE

Yep, you heard me right! A chain. cape. necklace.

Do tell?

Curb chain accessories

Honestly, I’m still not sure if that’s technically the best way to describe it. But basically, it’s a choker & two upper arm bands attached via chain. Like magician x medieval knight, or superhero x tetherball pole – super fun, right?!

When it comes to metal, typically you think jewelry, purses, maybe a Spencer’s wallet circa 2006 if we dare flash back that far. Although the truth is, chain accessories can go SO much further than that. And not to mention, look super chic while at it.

Think paired with sleeveless top or dress to make make for a Cleopatra-inspired situation, or added to your favorite fall/winter staples for a more subtle, industrial-glam touch. Either way, there’s no denying it creates an interesting vibe to look at – plus, turns any tired-feeling outfit totally on its head.

So what more could ya want?

// WHAT YOU NEED //

+ Black elastic (1/2 inch wide)

+ 4 jump rings (15 mm)

+ Your choice of sturdy fabric for the choker

+ Curb chain (60 inches long)

+ One hook & eye closure

+ Needle & heavy-duty thread

+ Sewing pins

// STEPS //

THE ARM BANDS

++ Measure your upper arm & cut four strips of black elastic to length + one extra inch.

++ Cut two additional pieces of black elastic approximately 2 inches long.

++ Take the four elastic pieces you cut for the upper arm bands & pin the ends of each piece around one jump ring to create four individual bands.

++ Stack two of the individual bands so that the jump rings line up & pin one of the 2-inch elastic pieces around the two jump rings to connect them. Do the same for the other set.

++ Use a zig-zag stitch to secure each folded over section of elastic to create two finished upper arm bands.

THE CHOKER

++ Measure your neck & cut a 2.5 inch-wide strip of your choker fabric to length + one extra inch for the seam allowance.

++ Fold your strip of fabric in half the long way (AKA hot dog style) so that the right sides are together & pin it.

++ Sew a straight stitch across the width of the fabric at each end & flip the strip right sides out.

++ Make sure all of the extra fabric is tucked in & sew a straight topstitch along the right side of the fabric to create a clean-edged choker band. Then, topstitch the other side to finish it off.

++ Finally, hand-sew a hook & eye to each end & double-check that it still fits your neck.

TO FINISH

++ Cut your curb chain in half to make two 30-inch pieces & hand-sew one end of one chain to the inside of the choker left of the hook & eye, then one end of the other chain to the right of the hook & eye.

++ Take the other ends of each chain and hand-sew one to each arm band. Done & done!

goth girl alt fashion
DIY goth accessories
Crushed velvet grunge fashion

xxAA

THE OTHER F WORD, COMING-OF-AGE & WHY WE HAVE ALL THE FEELS ABOUT IT

Whenever it comes to TV & movies, I definitely have a knack for being ‘that guy’ who’s late to the party.

I mean, you keep up with your favorites & have a finger on the pulse of what’s new. Though with the ‘80s hair-level volume of content being produced nowadays – who POSSIBLY has time to hit it all?!

But that aside, the crazy thing is always when you’ve heard of something & KNOW you’re going to be all about it. Yet, it still (for whatever reason) can take you awhile to actually get around to it.

My most recent case in point: The Other F Word.

It’s also currently available on Hulu!

You’ve probably heard of or seen it by now because see above: always late to the party. BUT for those who may not be so familiar, The Other F Word is a documentary that debuted in 2011, highlighting a mind-blowing variety of punk-rock icons-turned-fathers who share their ultimate truth about what it’s like to now be the authority they built a career raging against.

And yes – it is absolutely everything you want it to be. Equal parts hilarious as it is heart-wrenching, might I add.

From the hysterical accounts of Mark Hoppus & Fat Mike, to the heart-breaking tales of Duane Peters & Art Alexakis, let me just stress that you WILL feel all of the feels. As I still am about five solid weeks later.

But you know, that’s what’s so incredible about it. 

It’s no accident why coming-of-age has always been one of the most interesting (and hard-hitting) themes to a lot people since forever. Mainly because that long-awaited juncture where you officially cross over from youth into adulthood? It doesn’t really exist. At least, not in one fell swoop moment.

It just happens. For some, in a way that feels normal and manageably gradual. And for others, it hits like a ton of bricks.

Just like the film’s flagship anthem, Against Me!’s “I Was A Teenage Anarchist”. Which – fast forward to the other night when we got to catch the second half of their two-night concert series rocking out White Crosses and Transgender Dysphoria Blues in their entireties – of course they played. And once again, I cried. Kevin cried. The crowd cried! Because that’s what all of these feels still cause today. Just like they did when we were 16. Just like they will when we’re 60.

And just like they did when we were watching The Other F Word. All in the best way possible.

So the next time you’re in the market for something that can both uplift and pierce your soul at the stunningly same time, look no further than this hugely underrated, absolute gem of a doc. 

Just be sure to keep the tissues close by.

xxAA

Elements of feature image from Amazon

FALL’S MOST UNEXPECTED ACCESSORY: DIY GLAM BANDANAS

Ah, bandanas. Something you probably haven’t thought about since that godawful country western-themed dance in middle school – unless you’re a roadie for The Grateful Dead.

BUT now that fall temps are starting to arrive and we can actually stand to wear something around our necks without dripping in sweat, we’re proud to introduce: the glam-dana!

A great way to transition into fall, this edgy twist on the classic kerchief might just be our new obsession. And for good reason! After all…

–Basic bandanas are cheap as hell. Like, 99 cents cheap.

–They come in a surprisingly huge array of colors & prints.

–The fabric is super easy to work with (& also wash).

–You can style them in so many different ways (I’m talking from tanks to turtlenecks).

–AND they’re totally customizable to whatever vibe you’re feeling – and/or supplies you have laying around. 

Seriously, beads, trim, studs, spikes, buttons, sequins – even dye or paint if you really want to get creative. It’s one of those projects that you can invest however much (or little) time you’d like, plus truly make all your own.

So let’s dive in!

// WHAT YOU NEED //

+ A bandana

+ Bead needle & thread (double layered & knotted at the end)

+ Regular needle & thread (double layered & knotted at the end)

+ Beads (I used seed)

+ Fringe

+ Your choice of chain & studs (or whatever else you want to use for embellishment)

// STEPS //

++ First things first: rescue that bandana with an iron. You won’t get ~all~ of the creases out, but give it a valiant effort.

++ Fold the bandana in half diagonally and choose which side you want to be your main (luckily we only have to decorate the half that’s going to show).

BEADING

++ If you want to bead, that’s the first detail you should knock out (if not, just skip to the next section).

++ Once you figure out which areas you want to accent with beads, take your threaded bead needle and make your first stitch. Pull the needle though the fabric so the knot is on the non-visible side and sew a few tiny stitches, just to secure the thread. 

++ Add your beads two to three at a time onto the needle and pull them all the way down the thread so that they’re touching the fabric. Lay them down along where you want them to sit, and pull the needle down through the fabric right after the last bead to sew them into place.

++ Pull your needle back up about two to three bead’s length away from the last sewn-in bead (same premise as a back stitch), thread more beads onto the needle, put your needle back up against the last sewn-in bead and pull it down through the fabric. At this point, you should see all of the sewn beads starting to form a line.

++ Stitch by stitch, continue the beaded detail. Your S.O. might look at you like you’re a psycho for wanting to bead all of those leopard spots – but it’s totally worth it! I promise. 

OTHER EMBELLISHING

++ Measure & cut enough fringe to line the edges. Sew it on by hand or with a machine.

++ Measure, cut & hand-sew any additional decorative trim, like curb chain. 

++ Finish attaching any other final details, such as light-weight studs — and BAM! There you have a beautifully glam bandana.

// PROTIPS //

++ If you choose to bead, note that beading needles and regular sewing needles are different. Beading needles are much longer and thinner in order to go through the teeny tiny seed beads – plus the world’s worst to thread. You also can’t use thicker thread with beading needles because it won’t feed through the eye, so go with one that’s thin yet durable.

++ When beading straighter designs, you can sew more beads at a time. For curvier details that need greater accuracy (i.e. our beautiful leopard spots) you have to stick with one to three beads at a time. 

++ It’s easiest to dump your beads into a shallow container and stick your needle into the pile to catch them instead of hand-threading each bead onto the needle.

++ When hand sewing any other details onto your presentation side of the bandana, also be careful not to accidentally sew the two sides together! Speaking as someone who this mistake the first time…ugh.

Infinity scarves, don’t say we didn’t warn you. Because this chic, post-summer staple is most def here to stay.

Let us know how they turn out for you!

xxAA

THE EASIEST DIY CHOKERS EVER

Does anyone else have a weird relationship with jewelry?

I mean, it’s cool. It’s classic. Almost all of the older women in your life are super into it. But there’s still just something about it that’s always been a little tricky, if you ask me.

The cheap stuff these days isn’t really all that cheap. Finding the right piece can take a lifetime. AND when it comes to traveling, it’s hard not to worry that it will all meet an unfortunate demise of pulverization in your suitcase! Regardless if it’s the TSA’s “fault” or not…

But – there’s no denying it IS a killer way to elevate almost any outfit. So that’s what has always made me want to find a way to make it work.

Enter: TRIM. Something you may or may not be familiar with, although get ready, ‘cause it’s about to become your new best friend! Mainly due to the fact it’s inexpensive, customizable AND totally manageable for any DIYer – no matter how well you do (or don’t) know your way around a needle and thread.

Amazing, right?

Another perk is that by using trim, you can design the necklace however intricate or basic you please. Break it up with additional jump rings to create a cool look – or keep it super simple yet chic and edgy with the choker alone. But either way, you can throw it around without having to think t w i c e.

Seriously! Suitcase, gym bag, purse—it’s all NO match for this mighty accessorizing hack.

So let’s jump into it!

// WHAT YOU NEED //

+ A piece of trim

+ Curb chain

+ Needle & thread

+ Your choice of closure (I use a hook & eye)

// STEPS //

++ Measure the amount of trim you need based on your neck size, leaving 1/4 to 1/2 inch extra on each end. Remember, you want it to fit like a choker without, you know, actually choking you.

++ Take one end of the trim, fold the extra section back and sew it down to create a neat, fray-free edge. If your trim has a lot of metal embellishment like mine, you’ll probably need to hand sew it; however, if you want to use a sewing machine to zig-zag stitch it instead, be my guest!

++ Repeat on the other end, then double check that the finished length still comfortably fits your neck (i.e. didn’t accidentally get shortened too much in the process).

++ Take your choice of closure and hand sew a piece to each end.

++ Figure out how you want to position the curb chain, then hand-sew each end of it onto the back of the trim (but not too close to the bottom edge or else you run the risk of it sagging).

++ Voila! Enjoy your super-cute, new favorite accessory. 

// PROTIPS //

++ Whenever hand sewing things like this, I almost always opt for button/craft or upholstery thread instead of regular all-purpose, because it has that nice extra dose of durability. 

++ I personally like to use hook & eyes for necklaces because they feel the most secure to me, but you can totally use whatever works best for you! Snaps, velcro – even a safety pin can do the trick if sewing REALLY isn’t your forte & you want to spare the band-aids. 

++ All in all, the most important thing is to keep measuring as you go, juuust to make sure it doesn’t end up being too small. If you want to be safe, always lean toward keeping the trim slightly longer than you need, since you can always stitch together a gathered section of it in the back to tighten the necklace at the very end. No one will ever see it – and your secret will always be safe with us.

Let us know how it turns out for you! 

xxAA