HOW TO THROW A BANG-UP, THRIFTY BRUNCH FOR YOUR CAT! (OR ANYONE ELSE)

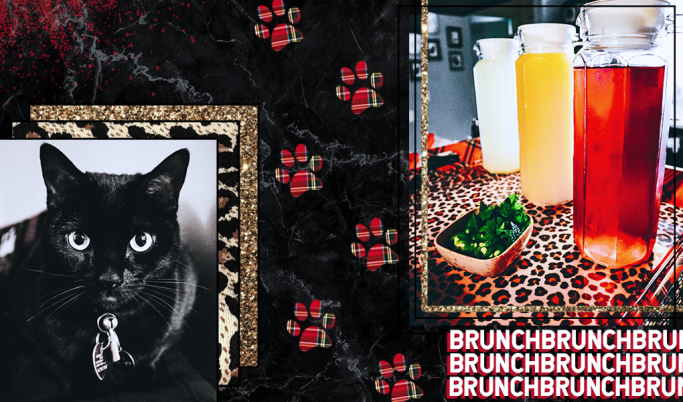
HAPPY CHERIVERSARY!!!

Cute black cat

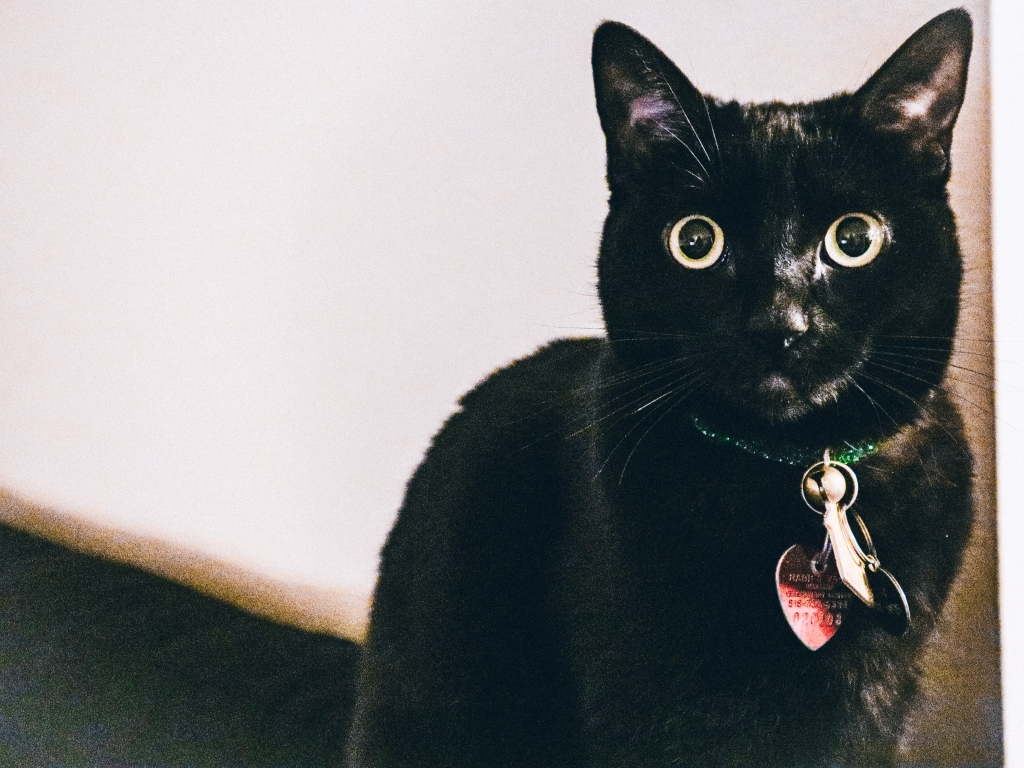
As of today, it’s officially been two whole years since this crazy little maniac splashed her way into our lives. So naturally, we had to celebrate the occasion in style!

Brunch style, to be exact.

After some epic menu planning, vibe coordinating & purchasing a LOT of cheap champagne, the Cheriversary brunch bash was born. And I have to say, it turned out to be prettty epic.

Even though I’m obsessed with the idea of entertaining (past life experience, I’m sure), I honestly haven’t yet had a ton of opportunities to throw ~bigger deal~ get-togethers of my own. So despite having to exercise self-restraint at every turn (i.e. no metallic balloons that spelled out “CHER”), it was major fun figuring out how to orchestrate a five-star fab gathering- while also not breaking the bank.

Sure, a bottomless pocketbook is nice, but getting creative is where all the fun is anyway. So we’re here to discuss some of the tips & tricks that helped make this mission possible:
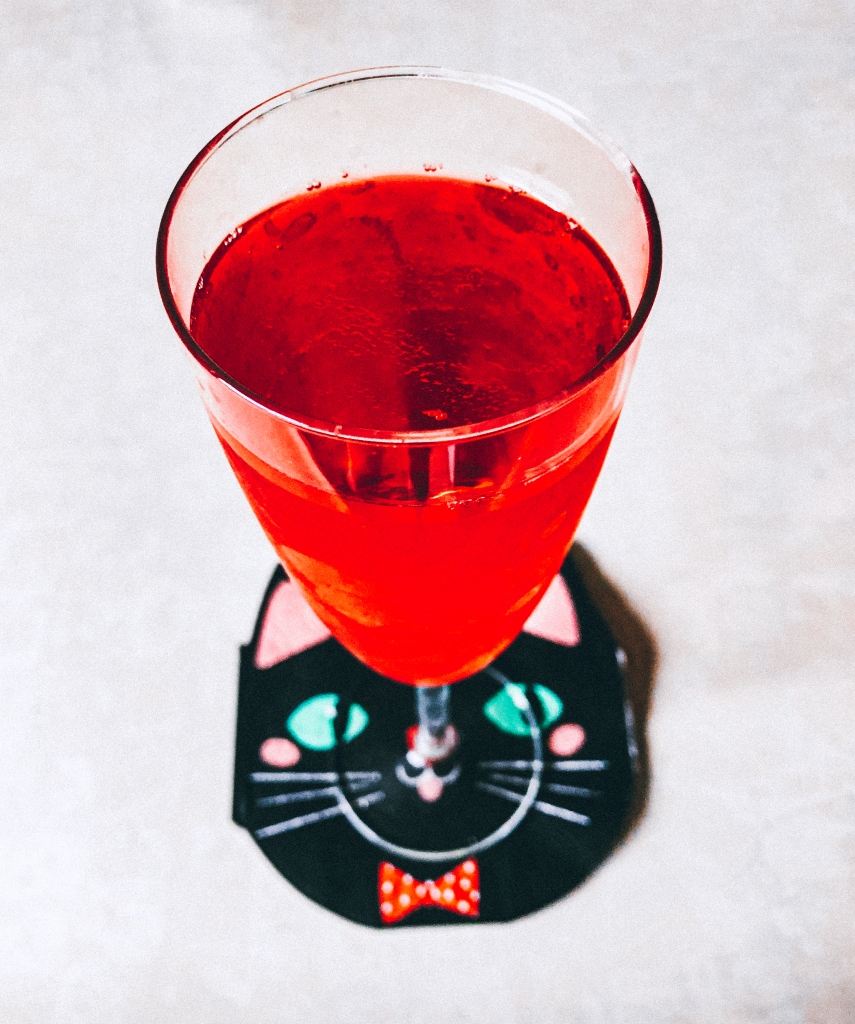
MIMOSA BAR

thrifty mimosa bar orange juice cranberry juice limeade

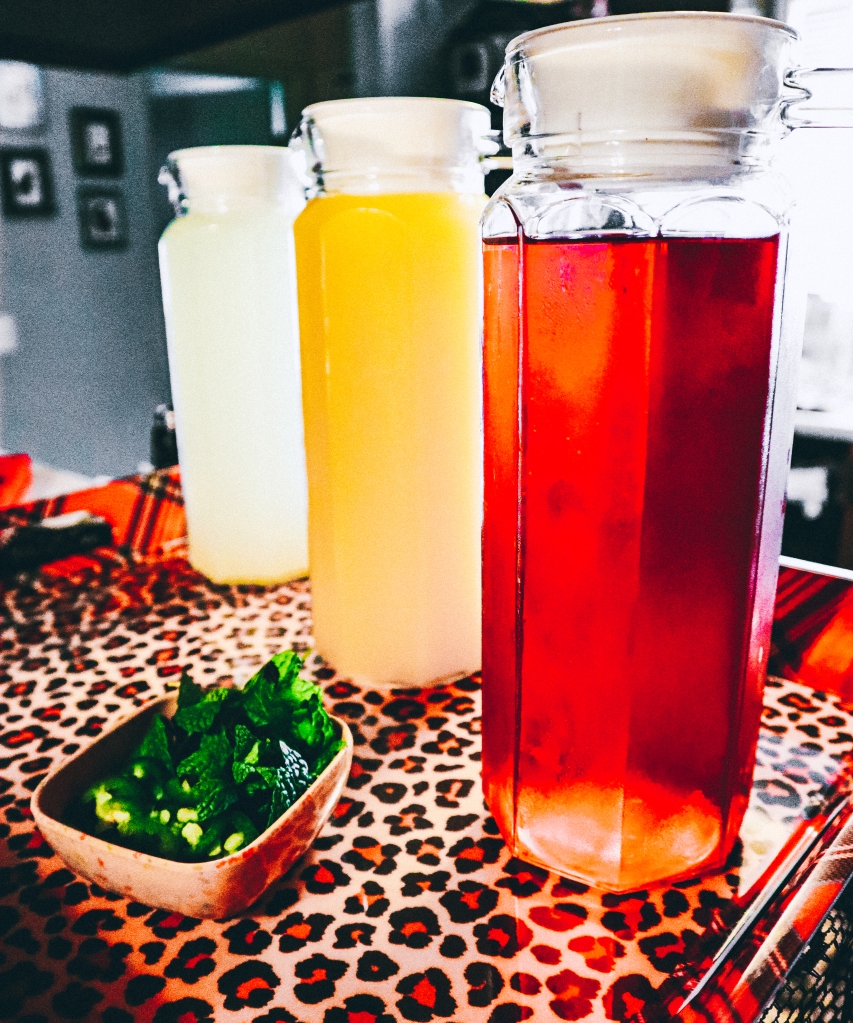
Who doesn’t love a good mimosa bar? Monsters, that’s who. When it comes to hosting, no matter how big or small, mimosas are ALWAYS a fantastic option. You can go however all out or reined in you’d like in terms of selection, and they can be relatively inexpensive, too!

((if you’re down for J. Roget))

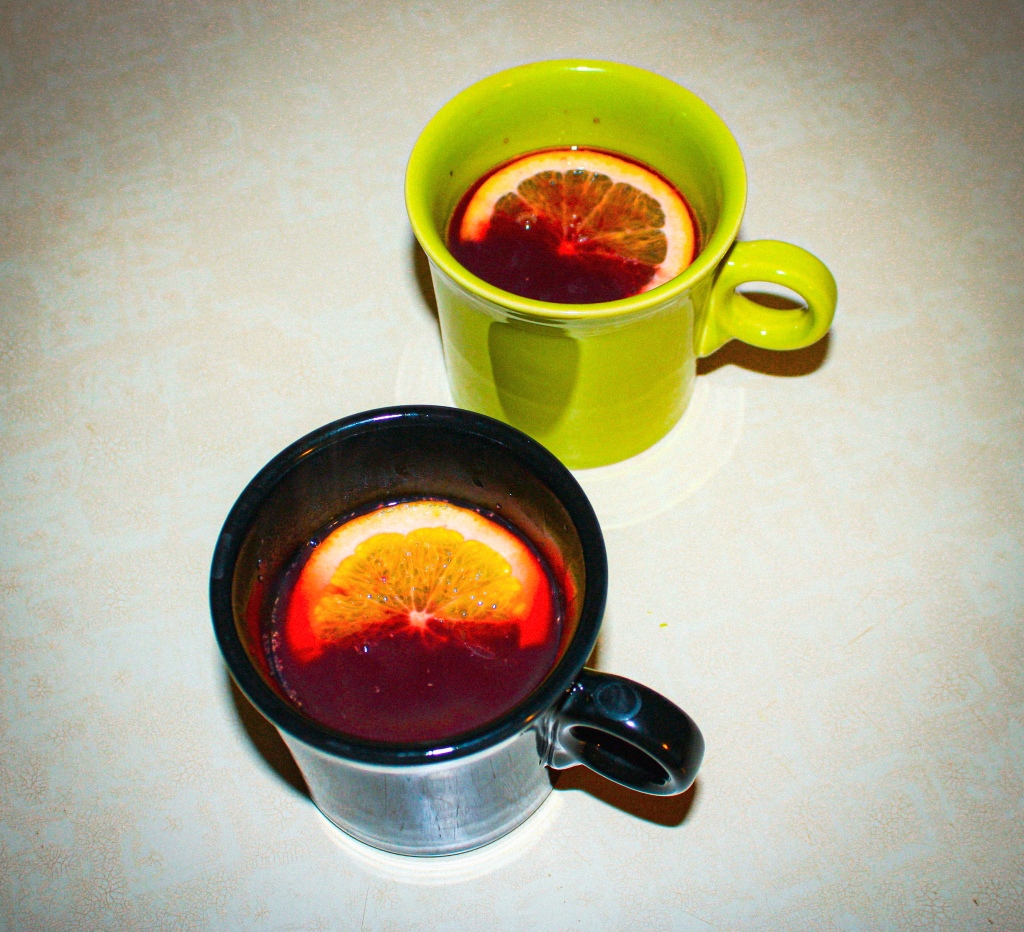
For this round, I filled glass carafes (s/o to the 99-cent store) with orange, cranberry & limeade juices plus fresh mint & insanely thin-sliced jalapeños for garnish. With so many fun juices available nowadays, they’re super fun to play around with. Although, if you get a little turned off by how concentrated & sugary some of them can get, I always like to have sparkling flavored water on hand to help cut it. Extra flavor, a few less calories- it’s a win-win.

EVERYTHING BAGEL & LOX CROSTINIS

Everything bagel and lox crostinis

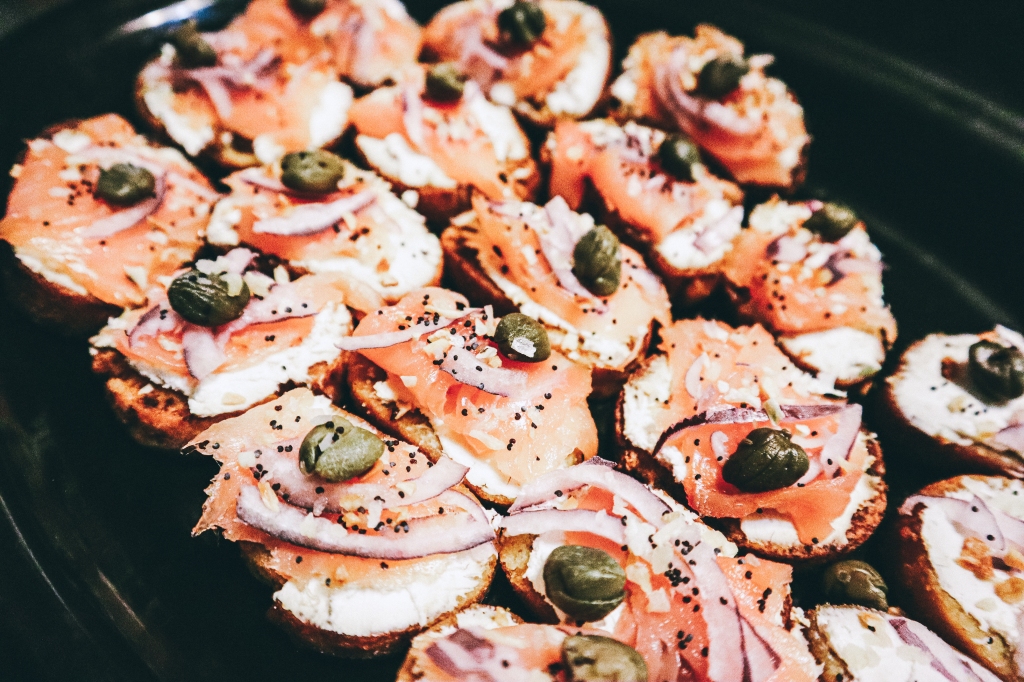
The original idea was to use bagel chips. But news flash: BAGEL CHIPS ARE IMPOSSIBLE TO FIND. In Burbank, at least. Who knew. Though luckily these garlic butter-drenched crostini’s flew in to save the day, & it totally worked just the same. 

Topped with whipped cream cheese, some slices of TJ’s smoked salmon, slivers of red onion, a caper & everything bagel seasoning…in the words of Rachel Zoe: I die. We die. Ugh, so good.

HASHBROWN CUPS

Hashbrown breakfast cups

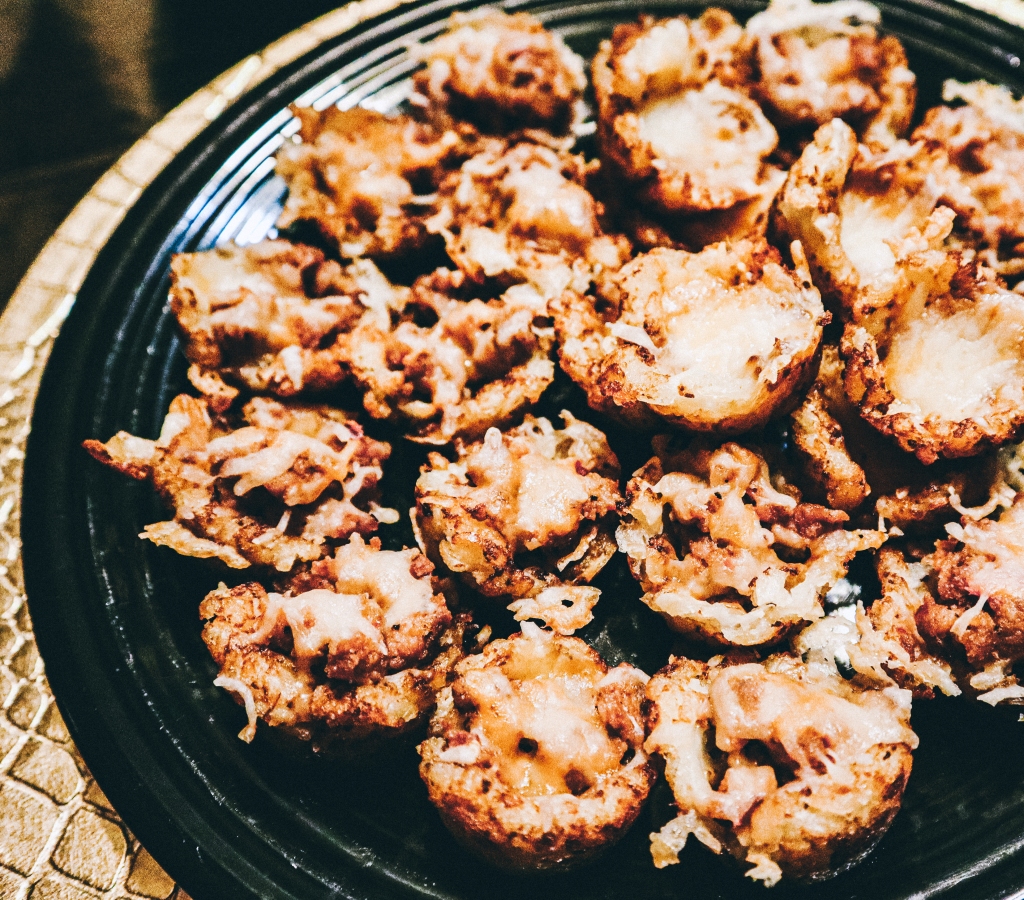
And speaking of Trader Joe’s, I swear they have the BEST frozen tots. Don’t ask me why, it’s just a fact. So sticking two of them into each pit of a mini muffin tin to bake for ten minutes, then squishing them into cups topped with sausage &/or cheese to finish baking for another ten was next-level. Plain & simple.

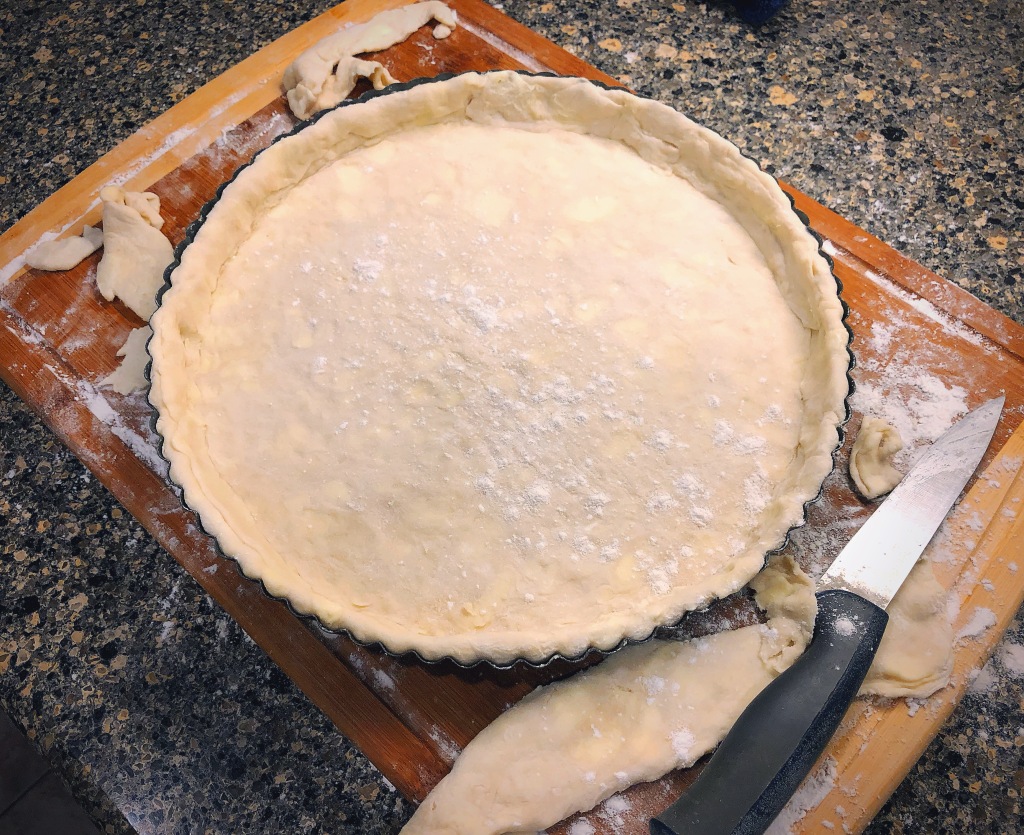
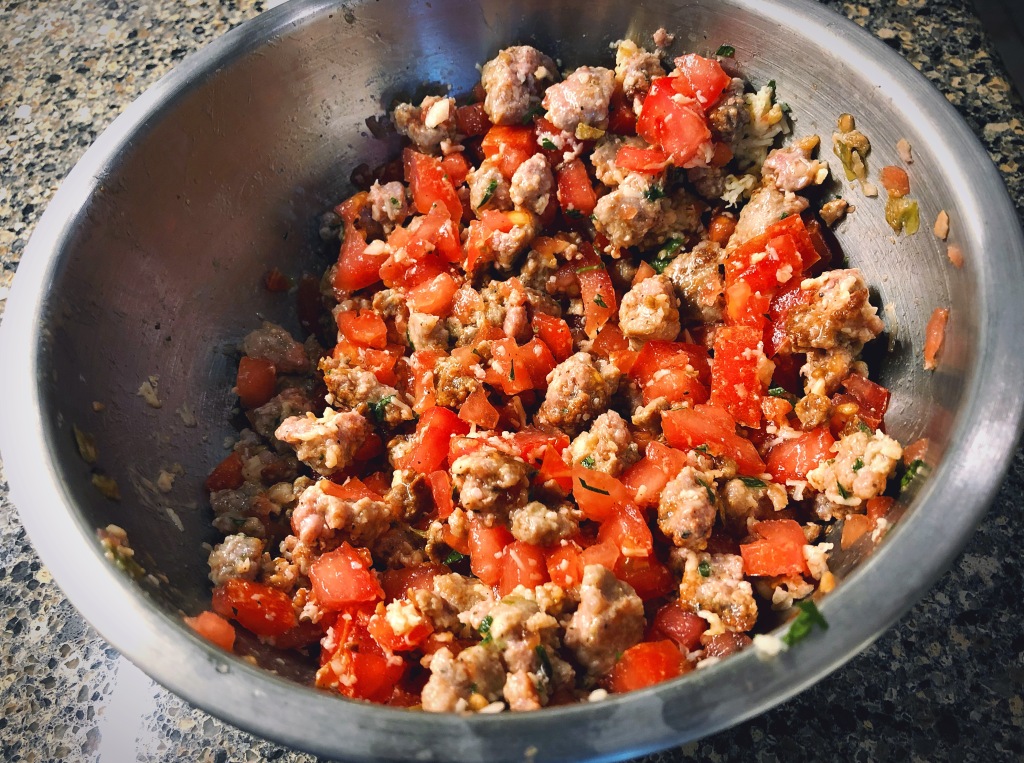
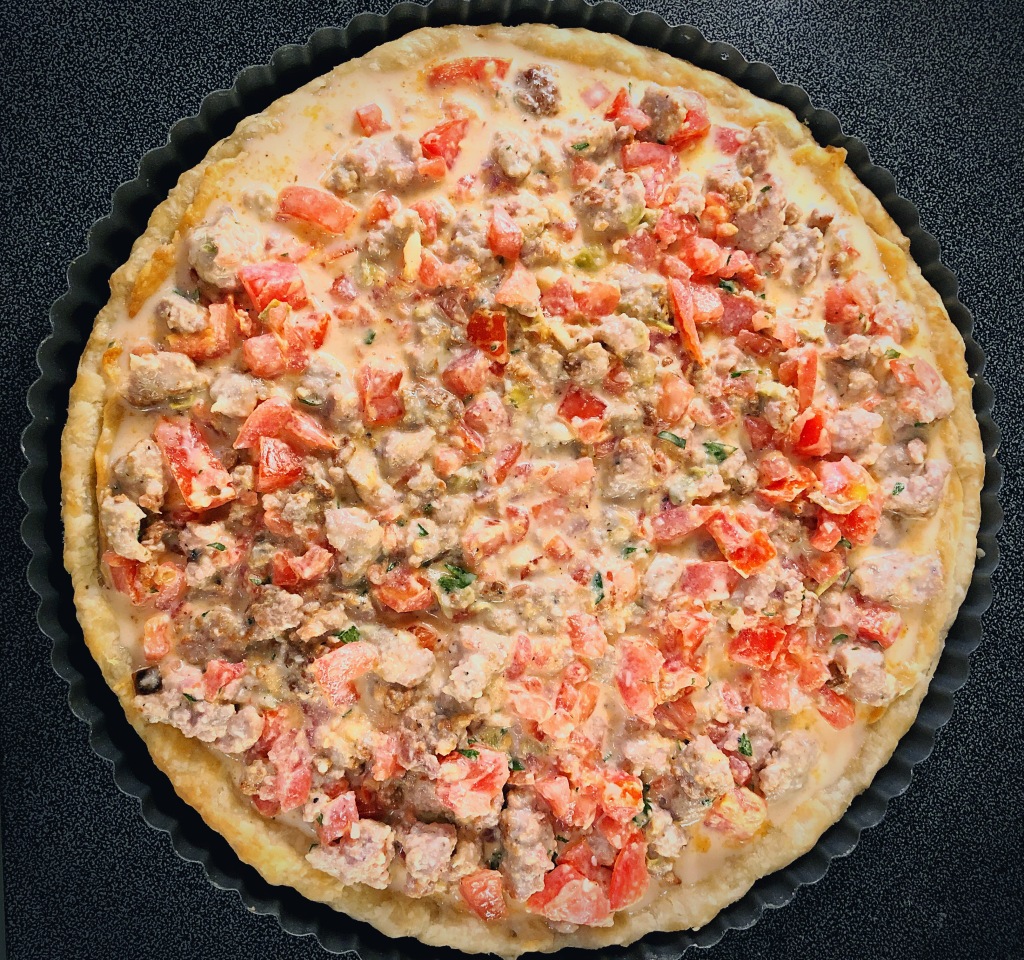
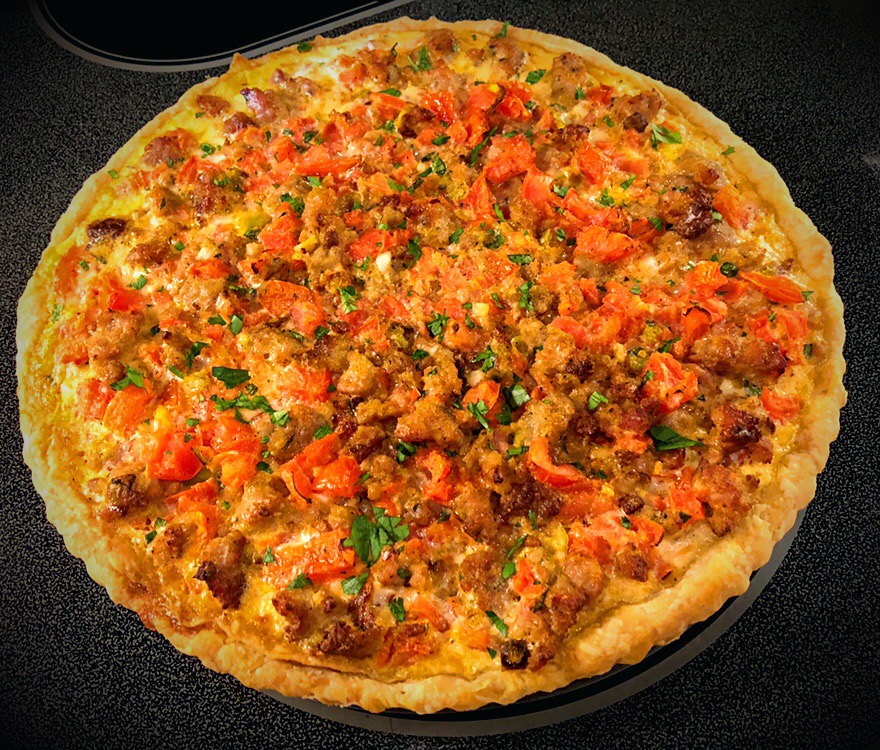
MINI GREEN CHILE QUICHES

Mini ramekin quiches leopard print

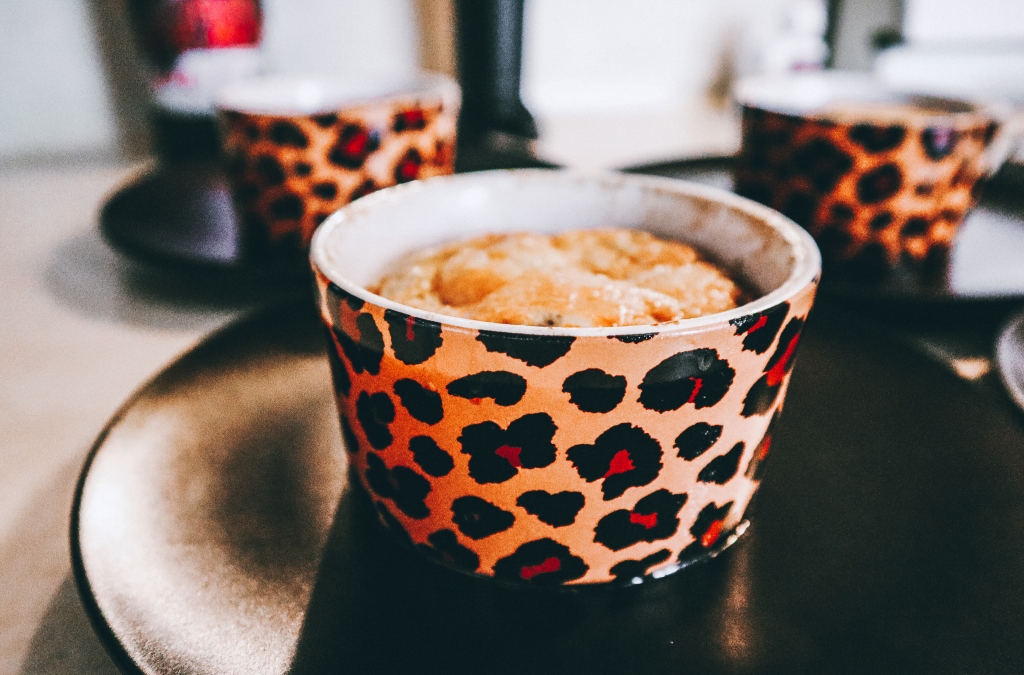
Two words: PRAISE MARTHA. I’ve never made quiche before, so obviously doing it for a crowd sounds like a great setting to first attempt. But with the help of OG lifestyle guru Martha Stewart, it went off without a hitch. 

Spring boarding off of this basic recipe, I customized our mini quiche moment with bacon, mushrooms, green chiles & some cheese…which will definitely linger in my dreams for the next two weeks, minimum. Coupled with these Cher-approved, leopard print, oven-safe ramekins, it was the perfect nucleus of the menu.

Science. 

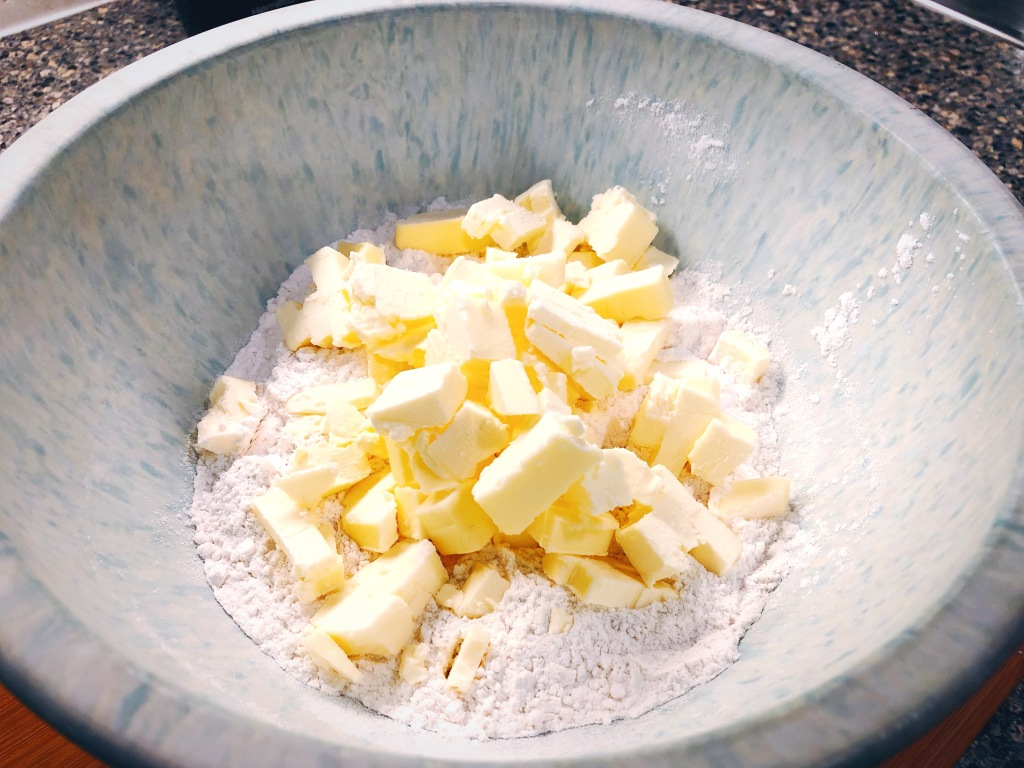
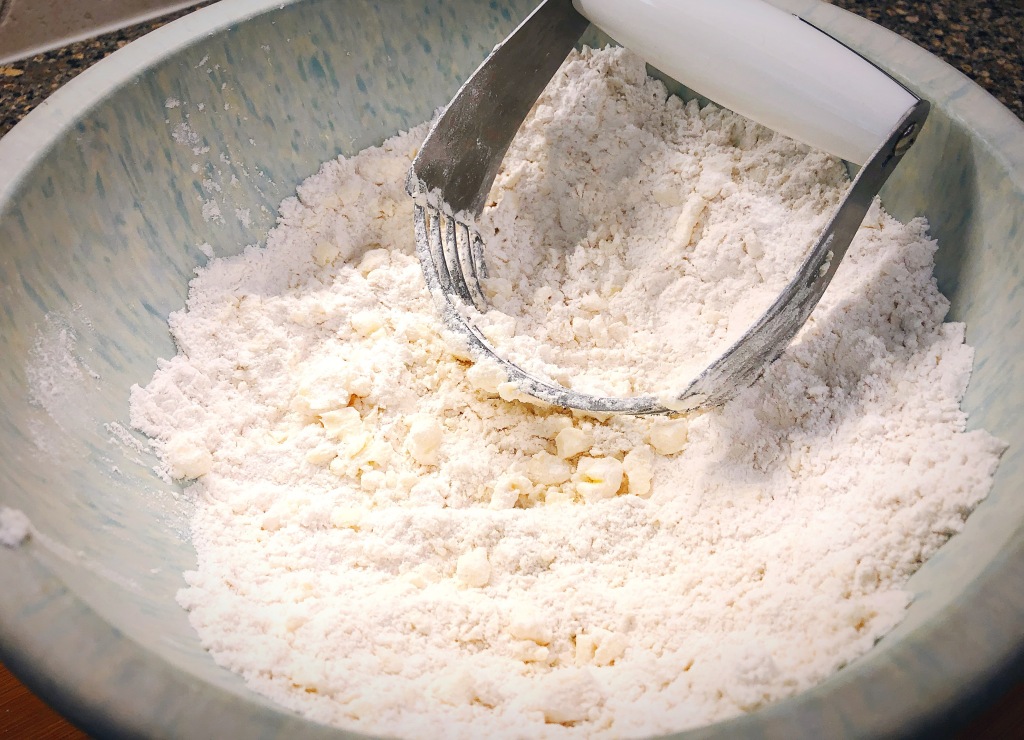
BLOOD ORANGE OLIVE OIL CAKE

blood orange olive oil cake on cake stand

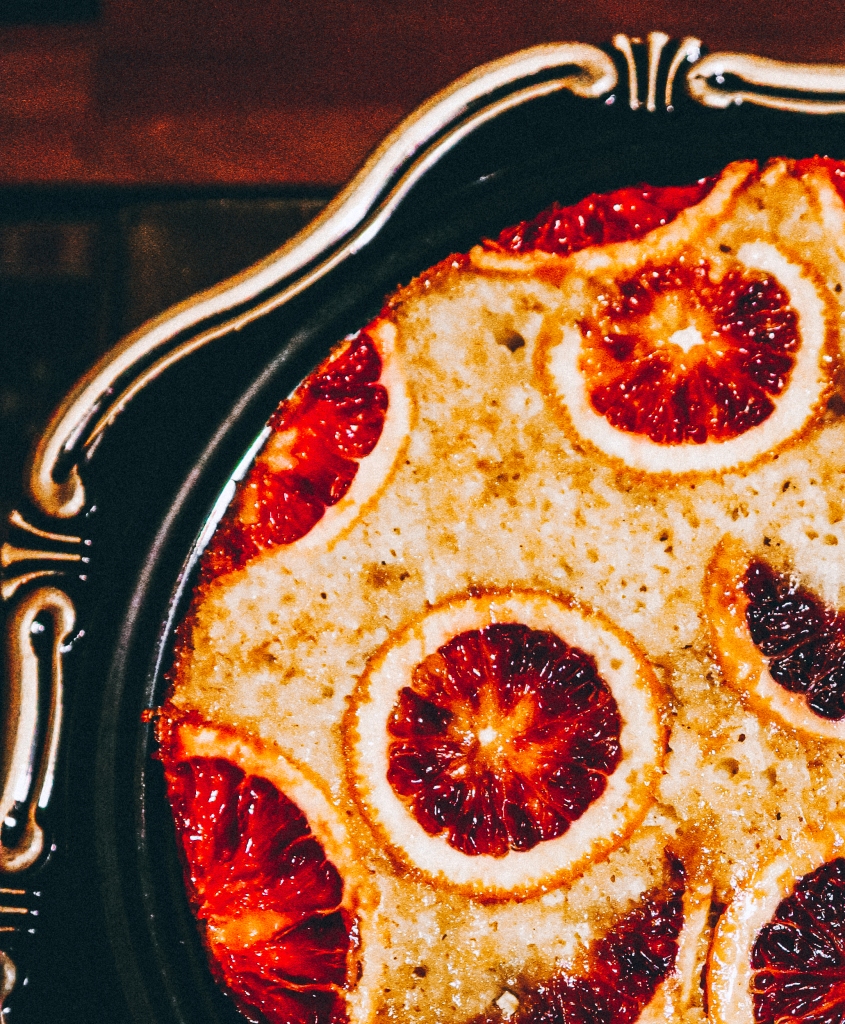
While I do love a good bake sesh, there was a ton of other stuff to do. So for even the most novice of bakers, an olive oil cake can do the trick! It’s fairly simple to throw together & best of all, there’s no complicated frosting job required. You basically bake it upside down, plop it out onto a cake stand (in my case, a $2 matching charger plate hot glued onto a candle stick- it worked so well) & bask in the beauty that is caramelized blood orange topping.

…& GRAPES

I thought long & hard about a glam, Pinterest-inspired fruit platter, only to remember how awkwardly expensive fruit always is. So we settled for grapes, which actually ended up being a perfect accoutrement to satisfy the brunchy craving.

Cranberry mimosa cat napkin

I mean you have graduations, birthdays, retirements, whatever. But “gotcha days”? They’re the best of them all. So even if your familiar’s anniversary isn’t anytime soon, hopefully you can get down with these tips & feel the need to go throw a brunch for them anyway.

And if there’s anything else as equally fantastically psycho you’ve ever done for your pet, please do tell.

I’m always looking for inspiration.

xxAA

THE BEST HOMEMADE CHEX MIX EVER

Is anyone else still trying to catch up from the holidays, or is it just me?

Ugh, seriously. It’s great. It’s fun. Wouldn’t trade it for the world, but MAN – routines sure do get messed up. Which is why it’s January & I’m ~just now~ getting around to posting about yet another timeless, top winter tradition: HOMEMADE CHEX MIX!

Best chex mix recipe

((even though it’s totally fitting any day of the year))

It all started back five, six…maybe seven years ago when I launched into the ultimate mental quest to come up with the perfect little holiday gesture for friends, the fam & neighbors. Of course there’s always cookies & chocolate, but everyone already has enough of that come this time of year (I guess from all of the other people trying to come up with the perfect little holiday gesture, too?). 

So if we’re not going sweet, then all roads clearly lead to salty…which means figuring out how to make what’s only the most rich, delicious & supremely perfect bar/party/alone-in-your-bed-at-3AM snack ever. And we did it! So now we share.

Because hello, the world NEEDS Chex Mix. And we aren’t monsters…

// INGREDIENTS //

+ 2.5 c corn Chex

+ 2.5 c wheat Chex

+ 2 c pretzels 

+ 1/2 c Goldfish (or other cheese cracker)

+ 1/2 c raw almonds 

+ 4 T butter (or Earth Balance for all my vegan peeps)

+ 2 T Worcestershire sauce (again, could easily swap for a vegan version)

+ 1-2 T hot sauce

+ 1 T chile-garlic sauce (optional but GREAT)

+ 1 T seasoned salt

+ 1 t granulated garlic

+ 1/2 t granulated onion

+ dashes of black pepper, chile powder, cayenne

// WHAT TO DO //

++ Combine the Chex, pretzels, Goldfish & almonds in a large (& I mean large) mixing bowl. Then, line a large baking sheet with aluminum foil & start preheating the oven to 250ºF.

Party snacks

++ Melt the butter on the stovetop or in the microwave & mix in all of the sauces & spices.

++ Pour the delicious butter/sauce/spice mix over the dry ingredients & gently stir until everything is coated.

++ Pour the coated mix onto the baking sheet & spread it out to get as thin of a layer as possible.

++ Bake in the oven for one hour & 15 minutes, stirring the mix every 15 minutes.

++ Remove from the oven & let cool for about 15 additional minutes.

game day recipes

Now, if you’re planning to keep it all to yourself, then simply Tupperware it up & try to resist engulfing the whole batch in one sitting. But if it’s a gift, then you can trick out some easy-to-find (& super cheap!) glass jars with a customized tag, some ribbon & hot-glued trim all the around…

Like this FAUX FURRY TRIM we scored this past year in festively chic emerald & ruby colors!

DIY Christmas gift

Yes, our neighborhood was probably a little confused to find an army of furry jars filled with snacks descend upon their front porches, but hey, that’s the fun, right?

xxAA

RED HOT-INFUSED MULLED WINE

OK, today we’re dishing out some major holiday inspo.

It all started back at Thanksgiving when my grandma mentioned something about infusing apple cider with Red Hots. You know, like those spicy little cinnamon candies from a few decades back.

Excuse me, WHAT?

Of course, she was talking about apple cider for the sake of apple cider, but my mind instantly went to one thing & one thing only: mulled wine!

Now, I’m definitely not so much of a red wine person. Never have been & don’t think I ever really will be. Although this year I was introduced to the great wide (& uber cozy) world of reds mulled with a warm, yummy spice squad of flavors that comprise everything there is to love about the holiday season.

So there it was! No questions asked. The experiment was born, & luckily the concoction turned out amazingly well. So well, in fact, that it felt criminal to keep all to ourselves.

mulled wine recipe

The only problem was, Red Hots are stunningly hard to find (who knew!!). You see Hot Tamales left & right (those chewy imposters), but Red Hots? You’re better off searching for Bigfoot.

However, what you can find are some little things called “Cinnamon Imperials”, which – despite your hesitation – definitely work just as well.

So since you can only roast so many damn Chestnuts on an open fire, it’s time to crank up the stove & hop to on making a batch of this gloriously delicious stuff.

// INGREDIENTS //

((yields ~ 8 servings))

+ 1 bottle your choice of dry red wine (we used a Cab)

+ 4 c apple cider

+ 2 small oranges (one juiced & zested)

+ 3 to 4 T maple syrup (or honey)

+ 2 cinnamon sticks

+ 8 – 10 (or so) whole cloves

+ 1 T fresh, grated ginger

+ A hefty handful of Red Hots (or Cinnamon Imperials)

+ (Optional) a splash of your favorite whisk(e)y, brandy or port

cinnamon clove ginger orange
Trader Joe's red wine

// WHAT TO DO //

++ Combine all of the ingredients into a large pot & bring to a low, slow boil.

++ RIGHT when it starts to ~lightly~ boil, turn down the heat & carefully simmer for at least 20 minutes, stirring regularly.

Nessie ladle

Using a Nessie ladle obviously makes it taste a lot better, too

((Side note: my grandma recommended filling a coffee maker with Red Hots in the basket & apple cider in the machine, then literally BREWING IT TOGETHER. Still trying to figure out if that’s genius or just a mess – so we decided to stick with the old-fashioned way for now…))

++ Make sure all of the candies & spices (sans cinna sticks) completely dissolve. Then if you want to be an Alton Brown perfectionist, strain the mulled wine & pour it all back into the pot to continue warming (or just leave as is).

++ After the initial 20 minutes, feel free to serve up! Or keep on lowww (not boiling) for however long you need.

++ Just for fun, you can also pour in a splash of the whisk(e)y, brandy or port before doling out the wine.

Mulled Wine Recipe

As per ushe, mulled wine is also one of those things you can totally customize to your own taste. So feel free to swap in or add whatever other spices suit your fancy (& inevitably will already have a place in your kitchen this Yule for pies on pies on pies)!

Because any which way you do it, I guarantee this is one drink that won’t EVER let you down.

xxAA

WHITE CLAW BLACKBERRY-LIME SCONES

Myyyyyyyyyy WHITE CLAW BRINGS ALL THE BOYS TO THE YARD!

Woah…simmering down. What I actually meant to say is happy September, my party people! 

It’s crazy to think that our fun-in-the-sun weather has already come and gone. Though with that it’s only natural we say sayonara to summer, and most importantly, usher in the fall-filled, only-55-days-until-Halloween kind of vibes.

But since we’ll all be wishing for warmer temps come the onslaught of snow (& for the West Coast- anything below 70 degrees) soon enough, it’s also fair we give this sunny season the worthy farewell it deserves. Which means concocting something fresh out of a British millennial’s dreams, obviously.

That’s right, I’m talking about White Claw SCONES!

In addition to all the seltzer-hounding bros out there, inspiration for this recipe came from the patron saint of sandwich finesse himself: Chef Jeff Mauro! One morning while watching my lifeblood (A.K.A. Food Network’s The Kitchen), Jeff totally dropped the mic when he intro’ed the concept of scones made with Prosecco. Revolutionary – I know, I know.

So in the shadows of this year’s scorching #HotGirlSummer, the idea came to me like a prophecy. Instead of stopping at just Prosecco, why not go for the gold—the WHITE CLAW gold. 

After all, there ain’t no laws when you’re drinking claws, right? (Edit: no)

(There are definitely still laws)

Jokes aside, this combo is fire. Seriously, 7-Up biscuits are a totally fine start; but why not go even further with replacing some of our baking liquid with the crisp, bubbly goodness the world has randomly just now discovered? 

So whether it’s a DIY brunch or something to tag-team with your morning coffee, you’ll find these flaky babies are about to become your new go-to treat.

// DIRECTIONS //

++ Preheat your oven to 400℉ to make sure it’s nice and hot, then line a baking sheet with parchment paper and set it to the side.

++ Place the cubed butter into the freezer for a few minutes before you start the dough. (Just like pastry dough, keeping your ingredients super cold will make for exceptionally flaky scones – I even popped my White Claw in the freezer, too)

++ Meanwhile, chop up your blackberries and leave no piece of lime unzested.

++ In a large mixing bowl, combine the flour, sugar, salt and baking powder and mix with a wooden spoon.

++ Remove the chilled butter from the freezer and add it to the dry ingredients. Cut the butter into the dry mix using a pastry blender (or two forks) until it’s about the size of a peas.

++ In a separate bowl, add the buttermilk, White Claw, vanilla extract and splash of heavy cream (only if you already have it) and whisk together. Then, ((gradually)) add the wet ingredients to the dry. Add the chopped blackberries, lime zest, splash of lime juice and pinch of white pepper, then ((carefully)) fold it all in. 

++ Your dough should quickly start to come together, but if you find it to be too dry, add additional touches of White Claw. BUT ALSO FIRST PLEASE NOTE this is a critical step—you do not, I repeat, DO NOT want to overwork your dough or add too much liquid. Scone dough should be on the drier side, rather than wet and sticky. 

((For this round, I accidentally got heavy handed with the additional White Claw. But I promise, it wasn’t on purpose – so I won’t tell if you don’t))

++ Once the dough is an optimum consistency, plop it onto a lightly floured cutting board and delicately roll it out into a circle. About 1 to 1.5 inches thick. Cut into 8 triangles and place each on the parchment-lined baking sheet.

++ Bake for 16 to 18 minutes until delectably golden brown. Then remove and let cool on a wire rack for a few minutes before enveloping.

Now, the other best part of this recipe is that you can also completely customize it to your favorite flavor!  I’m thinking black cherry/dark chocolate & vanilla, mango/white chocolate & mint, raspberry/lemon & lavender and grapefruit/ginger & a pinch of cayenne. The possibilities are truly endless.

(Just never mind the current nationwide shortage)

But either way, this is where we end things in the only way that feels right: Yee Claw!

Enjoy xxAA

HATCH CHILE SAUSAGE TART

Hellooooo from Texas!

For this latest installment of recipes we’re newly obsessed with, I’m coming to you live (well, sort of) from our homelands of the Lone Star State.

It’s crazy to think it’s been almost four years since finishing school and kickstarting a new chapter in sunny Los Angeles, but I guess that’s why they always say time is good at flying.

OK, but enough about that – it’s onto the main event. Our Hatch Chile Sausage TART!

Now, admittedly I’m relatively ~new~ to the tart scene. I’ve baked several pies for office contests and made plenty of warm, flaky biscuits, too. So taking those skills to the ring of tart creation feels like the next logical step. Right? And this one you won’t want to skip out on, guaranteed. Mainly thanks to all of the Hatch Chile goodness inside. 

I guess it was Andy Williams that always said Christmas is the most wonderful time of the year. But if you ask me? I think Hatch Chile season is a pretty solid contender for second. Sauces, breads, cheese, chocolate—you name it, there’s a hatch version of it. And while all of these products are fantastic on their own, subbing Hatch varieties of our run-of-the-mill fave ingredients can take so many recipes to a mind-b l o w i n g next level.

So without further ado, here we go on this year’s Hatch-infused adventure!

OK also – if you just want to use a pre-made crust (and by all means, we totally understand that sane and practical decision), then you can totally skip ahead in the recipe below. But if you want to roll out the red carpet for god-knows whatever reason like me, then prepare for the buttery ride of your life!

// THE DOUGH //

++ Cut the butter into small cubes, then place in a bowl and set inside the freezer for about 20 minutes. (Keeping everything cold is key)

++ Meanwhile, stir the flour, sugar and salt together in a large mixing bowl.

++ After the butter chills, add it to the mixing bowl as well. 

Did I mention I was at my parents’? Hello Melamine bowl from the ’50s…

++ Cut the butter into the dry mix using a pastry cutter (or two forks, or a food processor) until flour is coated and approximately the size of a pea.

++ Take your ice (ice-baby) cold water and stir into the mixture about 2 tablespoons at a time. You’ll see the dough start to stick together and want to continue adding until it comes together like a dough – sticky, but not crazy moist.

++ Once you have a full-fledged ball of dough, place it on a lightly floured cutting board and gently fold some additional flour into the dough. Form the dough into a ball, flatten the ball into a disk (maybe an inch or so thick), wrap it in plastic and throw it into the fridge to chill! About two hours – at least.

// POST-INITIAL CHILL //

++ Once you’re ready to shape your tart, retrieve the dough from the fridge and place it back onto the floured cutting board. Slowly and steadily, roll it out with a rolling pin starting from the center, working your way out. Continue adding flour as needed to prevent sticking, and remember that periodically rotating the dough can help to get an even thickness all the way around.

++ As soon as you see the dough is big enough to fit your tart pan (mine was 11 inches), carefully (((carefully))) lift your dough and place in the pan. Gently press your dough to fit the pan’s form.

++ When the dough is entirely shaped, use a paring knife to slice off the extra edges around the top so it fits the pan’s form just right. But don’t get ahead of yourself – stash the extra dough on the side…

++ For any sections of the outer crust that you notice might be thinner than the rest, tear off and press some of the extra dough into these areas so that you have an even thickness around the entire circumference.

++ Once it’s good to go, wrap the entire, superbly shaped crust in plastic once again to chill in the refrigerator for another at least 30 minutes. Preheat the oven to 400℉ (or 375 if using a convection oven).

// READY FOR PAR-BAKING //

++ OK, it’s go time! Take your freshly chilled crust, unwrap it, gently place a piece of parchment paper over the top and fill the crust with pie weights (or dried beans, pennies, and whatever else the Internet says is a worthy sub to prevent bubbles and shrinkage).

++ Place it into the preheated oven to bake for about 15 minutes. Then, remove the parchment paper and weights, use a fork to stab a few holes in the base to allow for air release and return it to the oven.

++ Since we’re only partially blind-baking the crust (for future reference, this guide is a life-saving resource), let it go for another 8 or so minutes, just until it starts to brown. Remove from oven and let C O O L. 

++ Bump the oven temp down about 25 degrees.

// WHILE IT PAR-BAKES //

++ We need to make the filling! Granted, this could easily be done in advance to save some time (and potential anxiety) whilst marathoning the epic dough, but it’s all totally up to you. 

++ Take the sausage out of its casing and brown in a skillet over medium heat until it’s cooked through. Use a slotted spoon to remove the meat and place it into a large bowl. Add the diced tomato, cheese, garlic, parsley, salt ‘n’ peppa to the large bowl.

++ In another bowl, whisk the eggs, cream and splash of milk together; then add this mix to the sausage mix and stir them both together well. 

// THE BIG FINISH //

++ Once the crust is relatively cool to the touch, use a slotted spoon to scoop the filling into the crust. Once you have the entire sausage/tomato mix spread evenly in the pan, carefully pour the remaining liquid, stopping just shy of it overflowing.

++ Return the filled crust back to the oven (uncovered) for about 15 to 20 minutes, until the crust is golden brown and the eggs in the filling are set.

++ Carefully remove the tart from the oven and let it cool for about 10 minutes before slicing.

Buttery, flaky, spicy…and kind of amazingly reminiscent of pizza – this is one tart that’s sure to wow.

Just be sure to watch your fingers when devouring.

xxAA