WHITE CLAW BLACKBERRY-LIME SCONES

Myyyyyyyyyy WHITE CLAW BRINGS ALL THE BOYS TO THE YARD!

Woah…simmering down. What I actually meant to say is happy September, my party people! 

It’s crazy to think that our fun-in-the-sun weather has already come and gone. Though with that it’s only natural we say sayonara to summer, and most importantly, usher in the fall-filled, only-55-days-until-Halloween kind of vibes.

But since we’ll all be wishing for warmer temps come the onslaught of snow (& for the West Coast- anything below 70 degrees) soon enough, it’s also fair we give this sunny season the worthy farewell it deserves. Which means concocting something fresh out of a British millennial’s dreams, obviously.

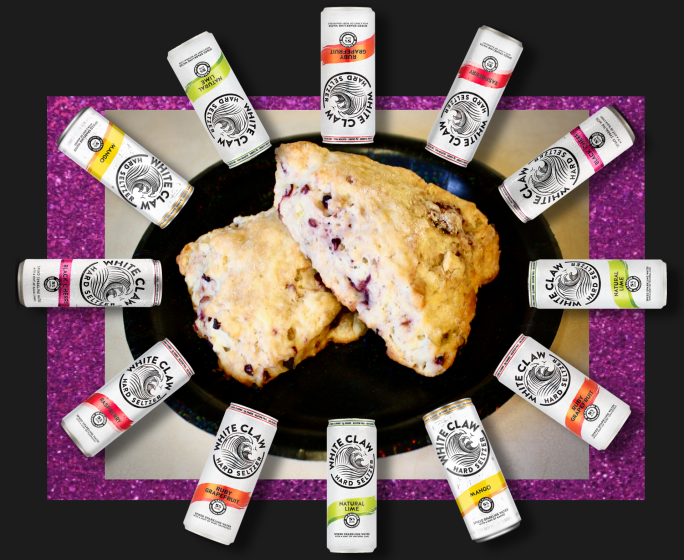
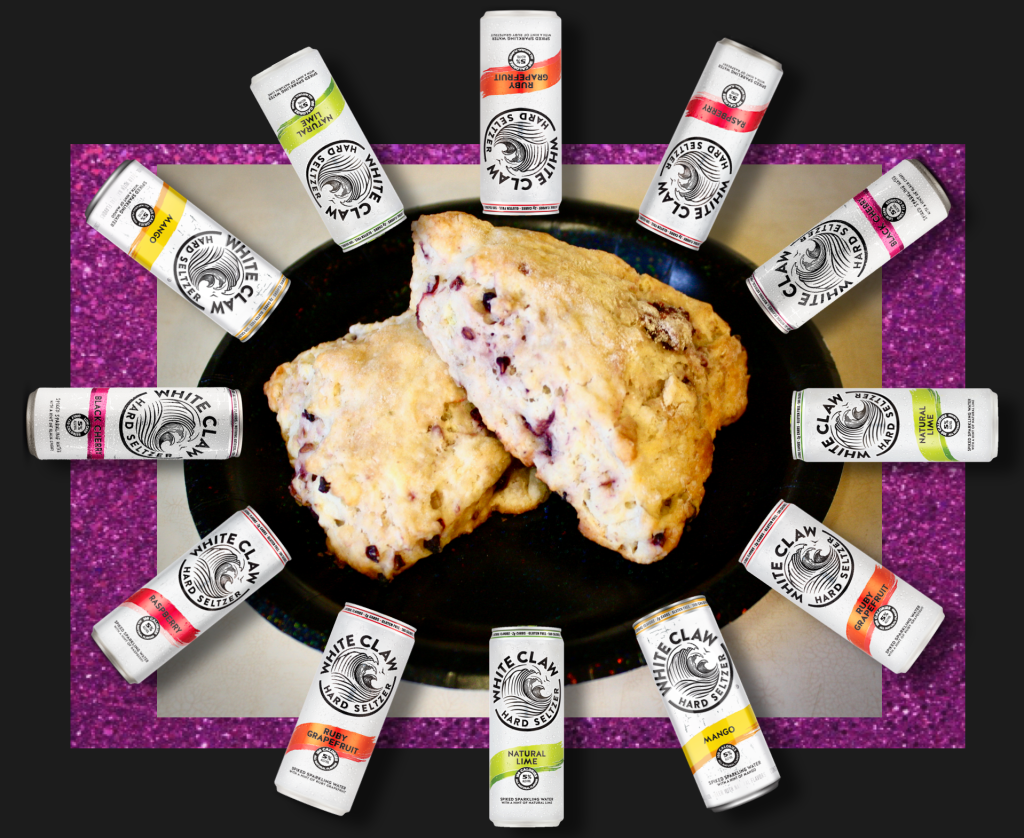
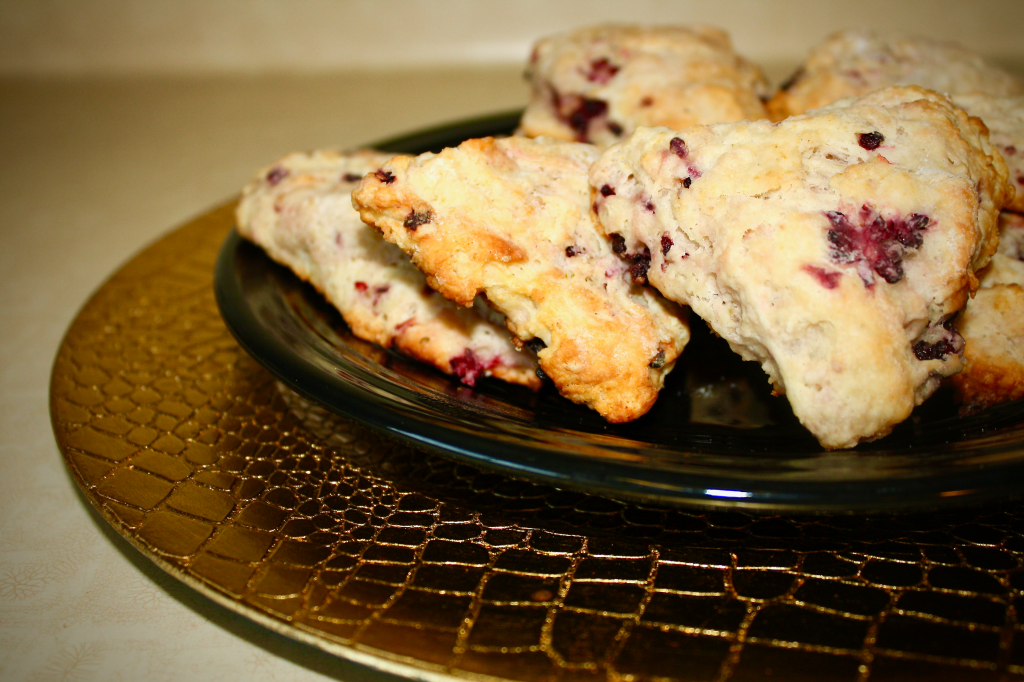
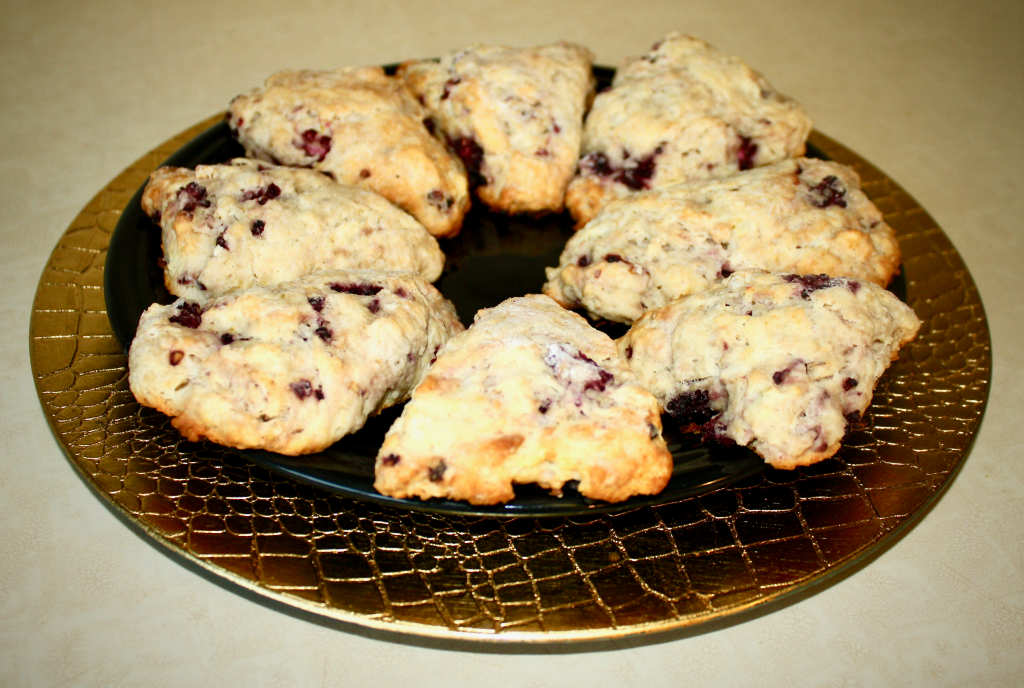
That’s right, I’m talking about White Claw SCONES!

In addition to all the seltzer-hounding bros out there, inspiration for this recipe came from the patron saint of sandwich finesse himself: Chef Jeff Mauro! One morning while watching my lifeblood (A.K.A. Food Network’s The Kitchen), Jeff totally dropped the mic when he intro’ed the concept of scones made with Prosecco. Revolutionary – I know, I know.

So in the shadows of this year’s scorching #HotGirlSummer, the idea came to me like a prophecy. Instead of stopping at just Prosecco, why not go for the gold—the WHITE CLAW gold. 

After all, there ain’t no laws when you’re drinking claws, right? (Edit: no)

(There are definitely still laws)

Jokes aside, this combo is fire. Seriously, 7-Up biscuits are a totally fine start; but why not go even further with replacing some of our baking liquid with the crisp, bubbly goodness the world has randomly just now discovered? 

So whether it’s a DIY brunch or something to tag-team with your morning coffee, you’ll find these flaky babies are about to become your new go-to treat.

// DIRECTIONS //

++ Preheat your oven to 400℉ to make sure it’s nice and hot, then line a baking sheet with parchment paper and set it to the side.

++ Place the cubed butter into the freezer for a few minutes before you start the dough. (Just like pastry dough, keeping your ingredients super cold will make for exceptionally flaky scones – I even popped my White Claw in the freezer, too)

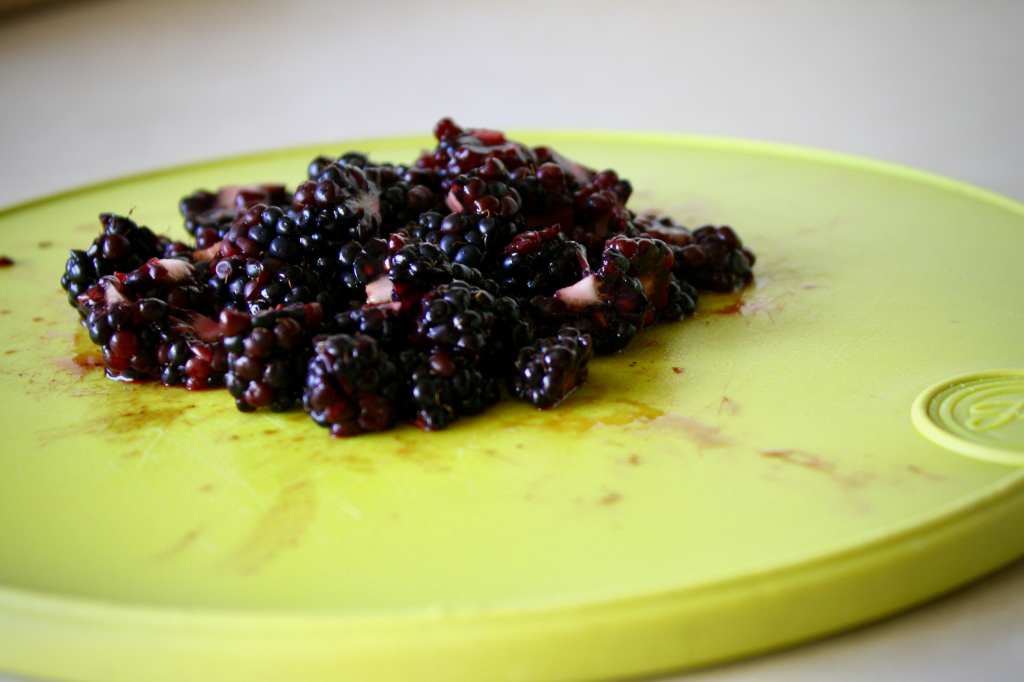
++ Meanwhile, chop up your blackberries and leave no piece of lime unzested.

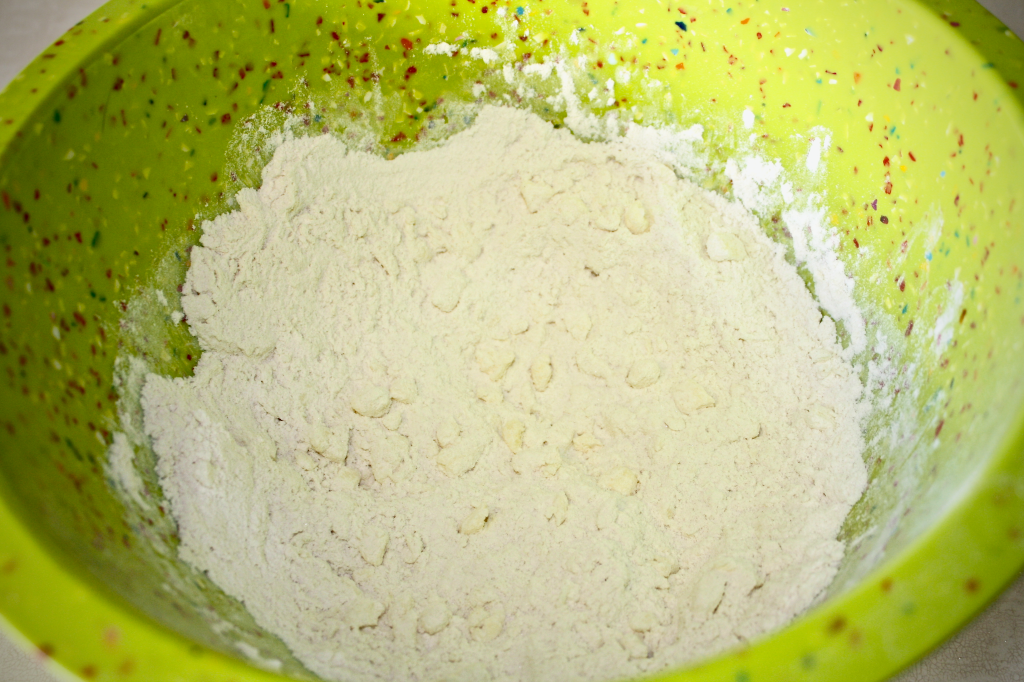
++ In a large mixing bowl, combine the flour, sugar, salt and baking powder and mix with a wooden spoon.

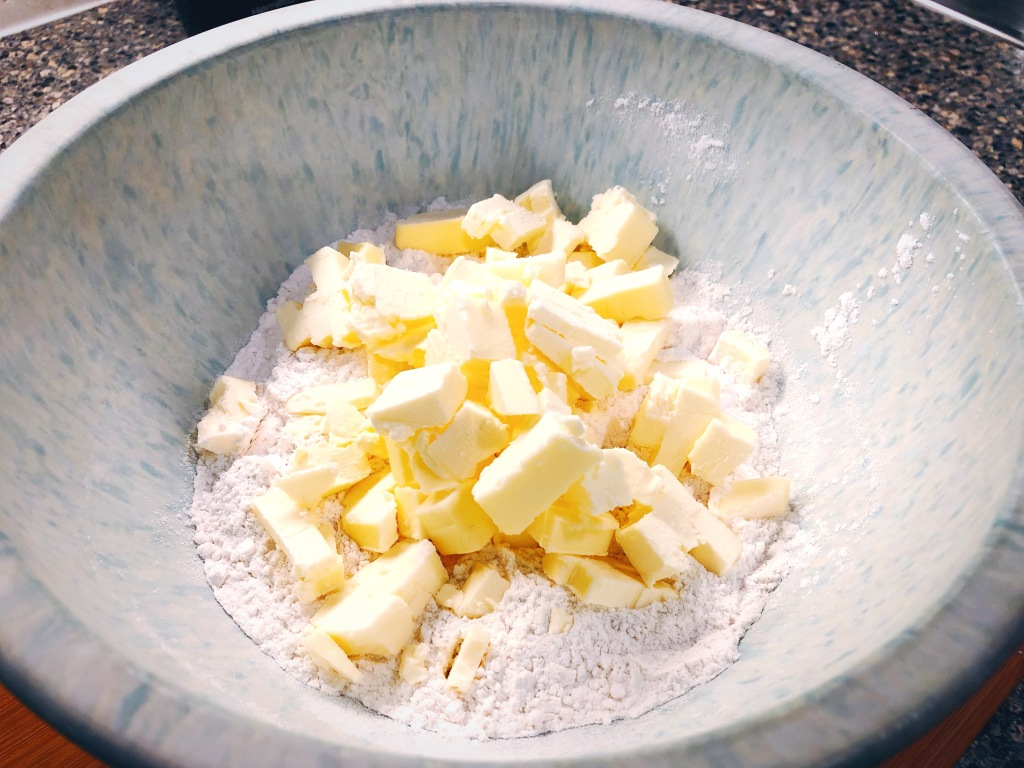
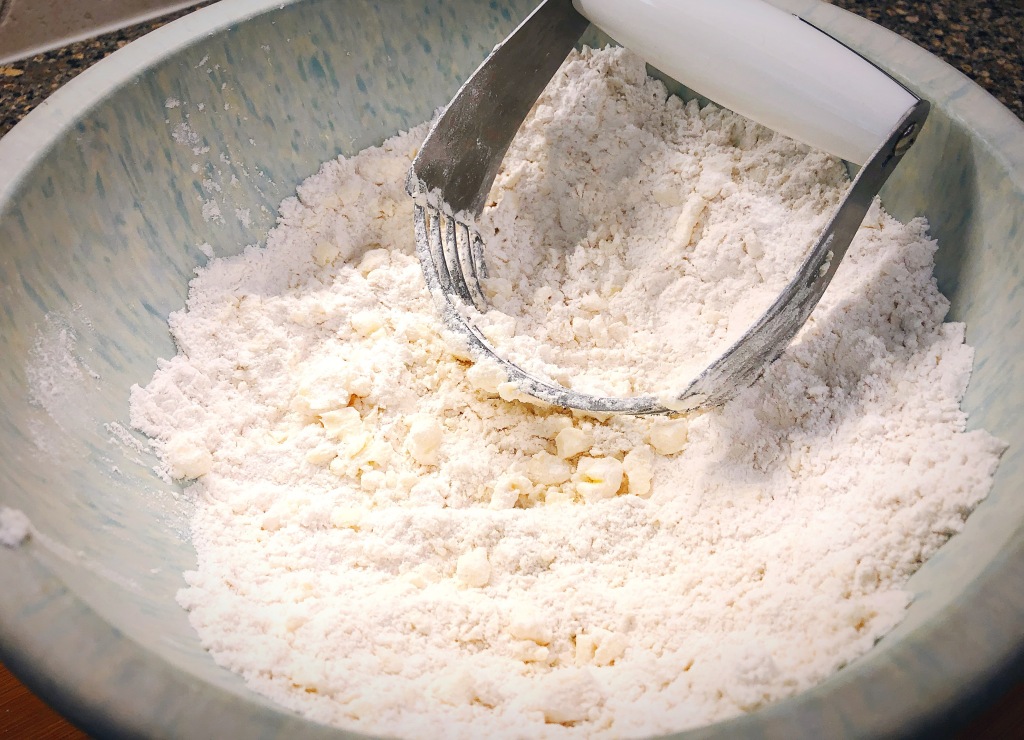
++ Remove the chilled butter from the freezer and add it to the dry ingredients. Cut the butter into the dry mix using a pastry blender (or two forks) until it’s about the size of a peas.

++ In a separate bowl, add the buttermilk, White Claw, vanilla extract and splash of heavy cream (only if you already have it) and whisk together. Then, ((gradually)) add the wet ingredients to the dry. Add the chopped blackberries, lime zest, splash of lime juice and pinch of white pepper, then ((carefully)) fold it all in. 

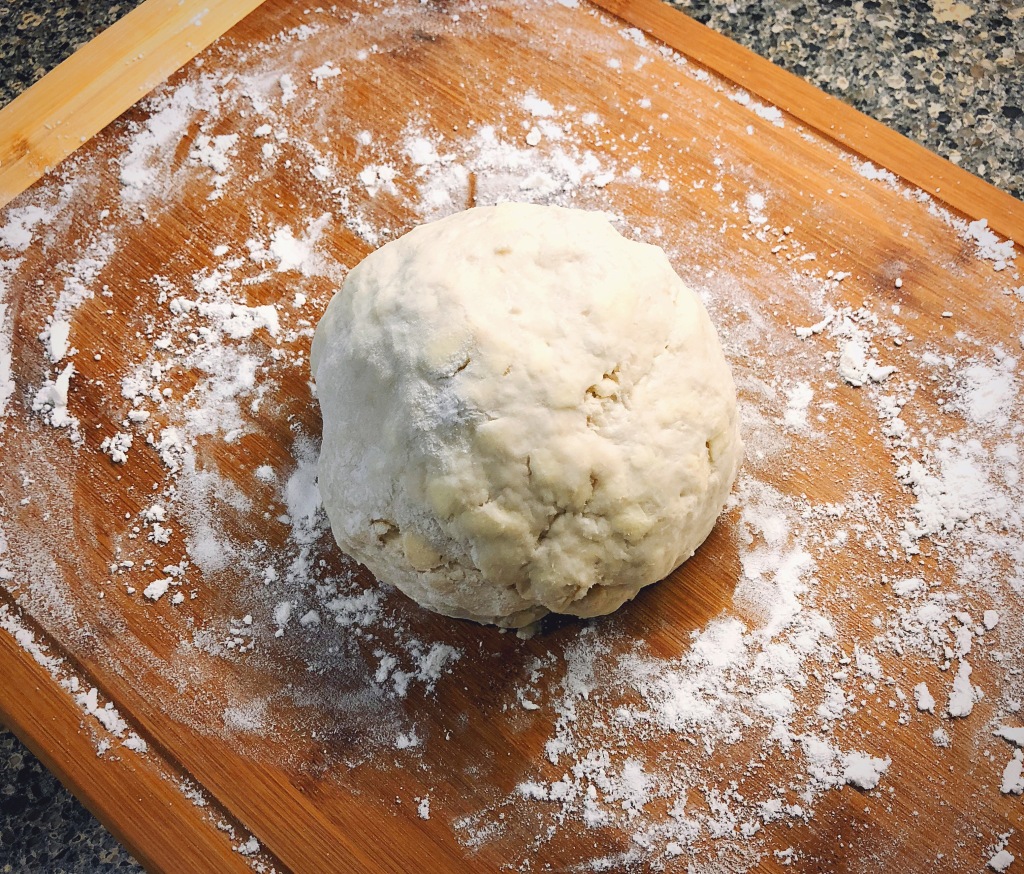
++ Your dough should quickly start to come together, but if you find it to be too dry, add additional touches of White Claw. BUT ALSO FIRST PLEASE NOTE this is a critical step—you do not, I repeat, DO NOT want to overwork your dough or add too much liquid. Scone dough should be on the drier side, rather than wet and sticky. 

((For this round, I accidentally got heavy handed with the additional White Claw. But I promise, it wasn’t on purpose – so I won’t tell if you don’t))

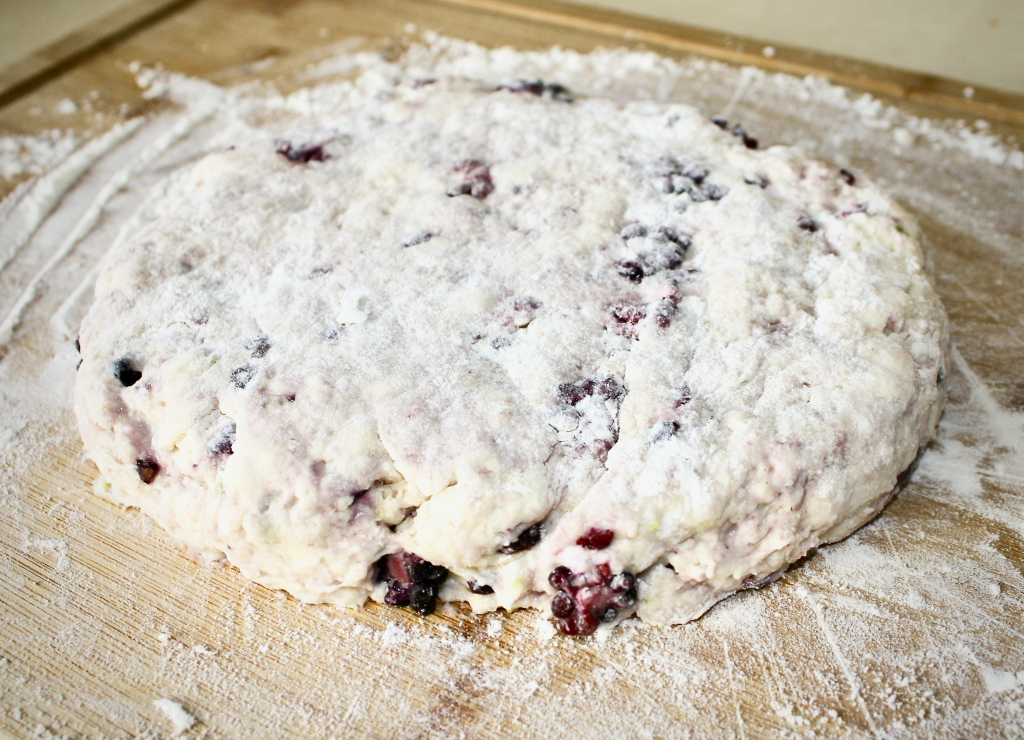
++ Once the dough is an optimum consistency, plop it onto a lightly floured cutting board and delicately roll it out into a circle. About 1 to 1.5 inches thick. Cut into 8 triangles and place each on the parchment-lined baking sheet.

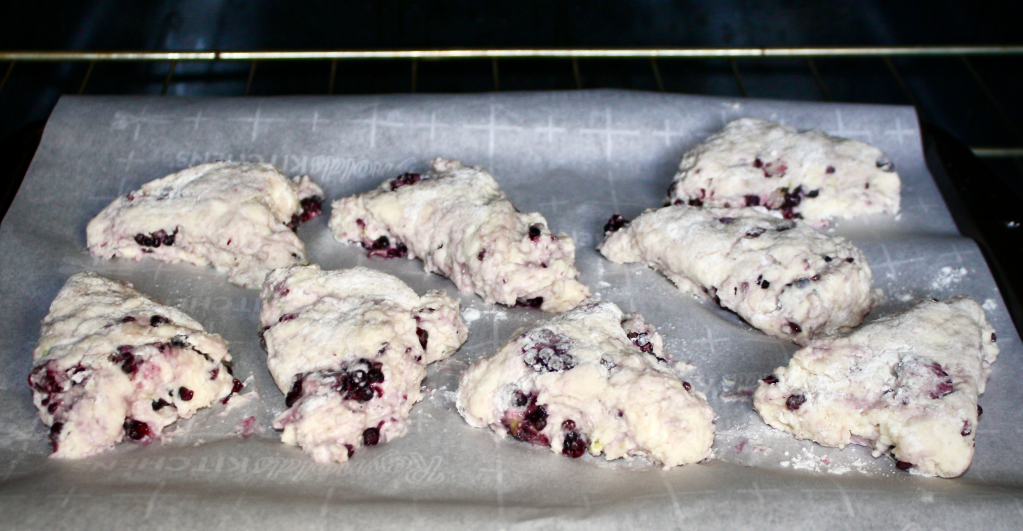
++ Bake for 16 to 18 minutes until delectably golden brown. Then remove and let cool on a wire rack for a few minutes before enveloping.

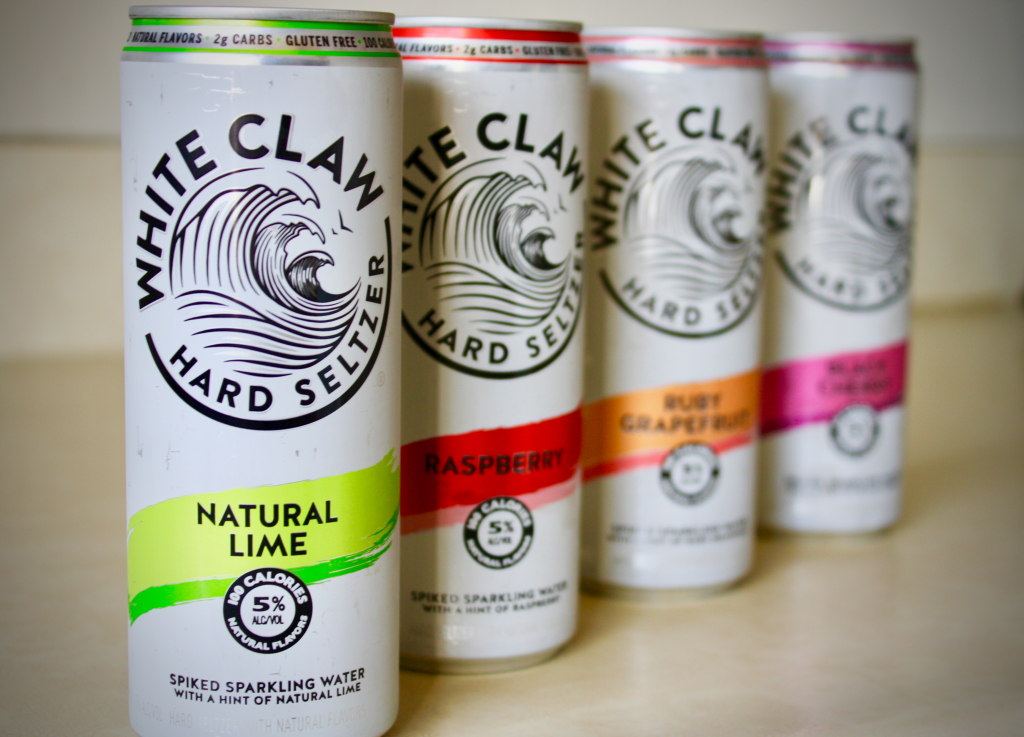
Now, the other best part of this recipe is that you can also completely customize it to your favorite flavor!  I’m thinking black cherry/dark chocolate & vanilla, mango/white chocolate & mint, raspberry/lemon & lavender and grapefruit/ginger & a pinch of cayenne. The possibilities are truly endless.

(Just never mind the current nationwide shortage)

But either way, this is where we end things in the only way that feels right: Yee Claw!

Enjoy xxAA

HATCH CHILE SAUSAGE TART

Hellooooo from Texas!

For this latest installment of recipes we’re newly obsessed with, I’m coming to you live (well, sort of) from our homelands of the Lone Star State.

It’s crazy to think it’s been almost four years since finishing school and kickstarting a new chapter in sunny Los Angeles, but I guess that’s why they always say time is good at flying.

OK, but enough about that – it’s onto the main event. Our Hatch Chile Sausage TART!

Now, admittedly I’m relatively ~new~ to the tart scene. I’ve baked several pies for office contests and made plenty of warm, flaky biscuits, too. So taking those skills to the ring of tart creation feels like the next logical step. Right? And this one you won’t want to skip out on, guaranteed. Mainly thanks to all of the Hatch Chile goodness inside. 

I guess it was Andy Williams that always said Christmas is the most wonderful time of the year. But if you ask me? I think Hatch Chile season is a pretty solid contender for second. Sauces, breads, cheese, chocolate—you name it, there’s a hatch version of it. And while all of these products are fantastic on their own, subbing Hatch varieties of our run-of-the-mill fave ingredients can take so many recipes to a mind-b l o w i n g next level.

So without further ado, here we go on this year’s Hatch-infused adventure!

OK also – if you just want to use a pre-made crust (and by all means, we totally understand that sane and practical decision), then you can totally skip ahead in the recipe below. But if you want to roll out the red carpet for god-knows whatever reason like me, then prepare for the buttery ride of your life!

// THE DOUGH //

++ Cut the butter into small cubes, then place in a bowl and set inside the freezer for about 20 minutes. (Keeping everything cold is key)

++ Meanwhile, stir the flour, sugar and salt together in a large mixing bowl.

++ After the butter chills, add it to the mixing bowl as well. 

Did I mention I was at my parents’? Hello Melamine bowl from the ’50s…

++ Cut the butter into the dry mix using a pastry cutter (or two forks, or a food processor) until flour is coated and approximately the size of a pea.

++ Take your ice (ice-baby) cold water and stir into the mixture about 2 tablespoons at a time. You’ll see the dough start to stick together and want to continue adding until it comes together like a dough – sticky, but not crazy moist.

++ Once you have a full-fledged ball of dough, place it on a lightly floured cutting board and gently fold some additional flour into the dough. Form the dough into a ball, flatten the ball into a disk (maybe an inch or so thick), wrap it in plastic and throw it into the fridge to chill! About two hours – at least.

// POST-INITIAL CHILL //

++ Once you’re ready to shape your tart, retrieve the dough from the fridge and place it back onto the floured cutting board. Slowly and steadily, roll it out with a rolling pin starting from the center, working your way out. Continue adding flour as needed to prevent sticking, and remember that periodically rotating the dough can help to get an even thickness all the way around.

++ As soon as you see the dough is big enough to fit your tart pan (mine was 11 inches), carefully (((carefully))) lift your dough and place in the pan. Gently press your dough to fit the pan’s form.

++ When the dough is entirely shaped, use a paring knife to slice off the extra edges around the top so it fits the pan’s form just right. But don’t get ahead of yourself – stash the extra dough on the side…

++ For any sections of the outer crust that you notice might be thinner than the rest, tear off and press some of the extra dough into these areas so that you have an even thickness around the entire circumference.

++ Once it’s good to go, wrap the entire, superbly shaped crust in plastic once again to chill in the refrigerator for another at least 30 minutes. Preheat the oven to 400℉ (or 375 if using a convection oven).

// READY FOR PAR-BAKING //

++ OK, it’s go time! Take your freshly chilled crust, unwrap it, gently place a piece of parchment paper over the top and fill the crust with pie weights (or dried beans, pennies, and whatever else the Internet says is a worthy sub to prevent bubbles and shrinkage).

++ Place it into the preheated oven to bake for about 15 minutes. Then, remove the parchment paper and weights, use a fork to stab a few holes in the base to allow for air release and return it to the oven.

++ Since we’re only partially blind-baking the crust (for future reference, this guide is a life-saving resource), let it go for another 8 or so minutes, just until it starts to brown. Remove from oven and let C O O L. 

++ Bump the oven temp down about 25 degrees.

// WHILE IT PAR-BAKES //

++ We need to make the filling! Granted, this could easily be done in advance to save some time (and potential anxiety) whilst marathoning the epic dough, but it’s all totally up to you. 

++ Take the sausage out of its casing and brown in a skillet over medium heat until it’s cooked through. Use a slotted spoon to remove the meat and place it into a large bowl. Add the diced tomato, cheese, garlic, parsley, salt ‘n’ peppa to the large bowl.

++ In another bowl, whisk the eggs, cream and splash of milk together; then add this mix to the sausage mix and stir them both together well. 

// THE BIG FINISH //

++ Once the crust is relatively cool to the touch, use a slotted spoon to scoop the filling into the crust. Once you have the entire sausage/tomato mix spread evenly in the pan, carefully pour the remaining liquid, stopping just shy of it overflowing.

++ Return the filled crust back to the oven (uncovered) for about 15 to 20 minutes, until the crust is golden brown and the eggs in the filling are set.

++ Carefully remove the tart from the oven and let it cool for about 10 minutes before slicing.

Buttery, flaky, spicy…and kind of amazingly reminiscent of pizza – this is one tart that’s sure to wow.

Just be sure to watch your fingers when devouring.

xxAA